This post contains affiliate links. Please see our disclosure policy.
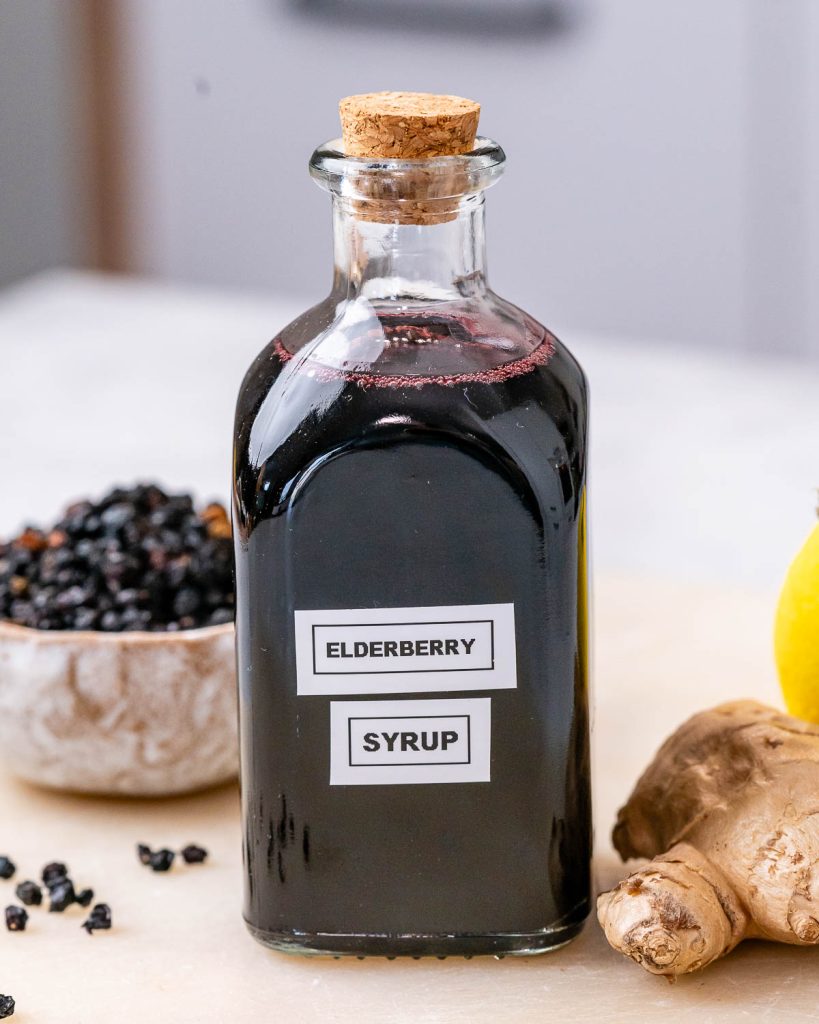
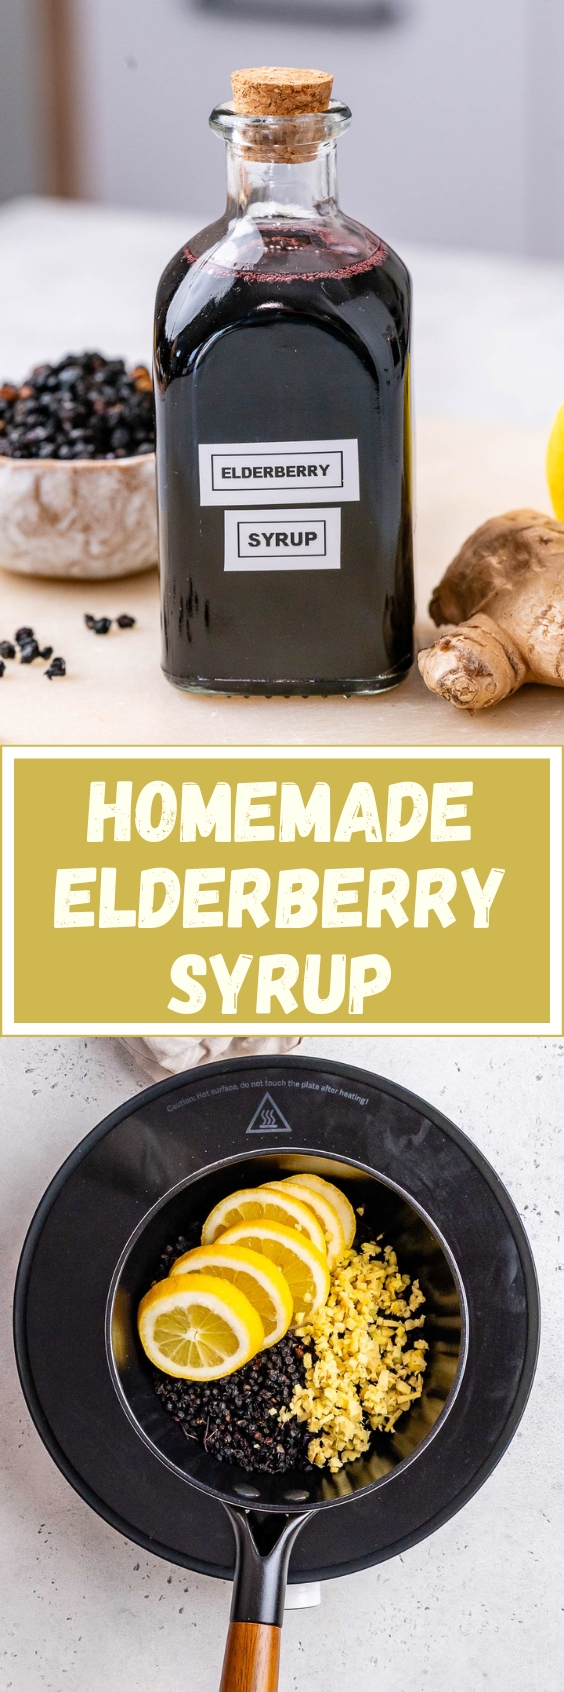
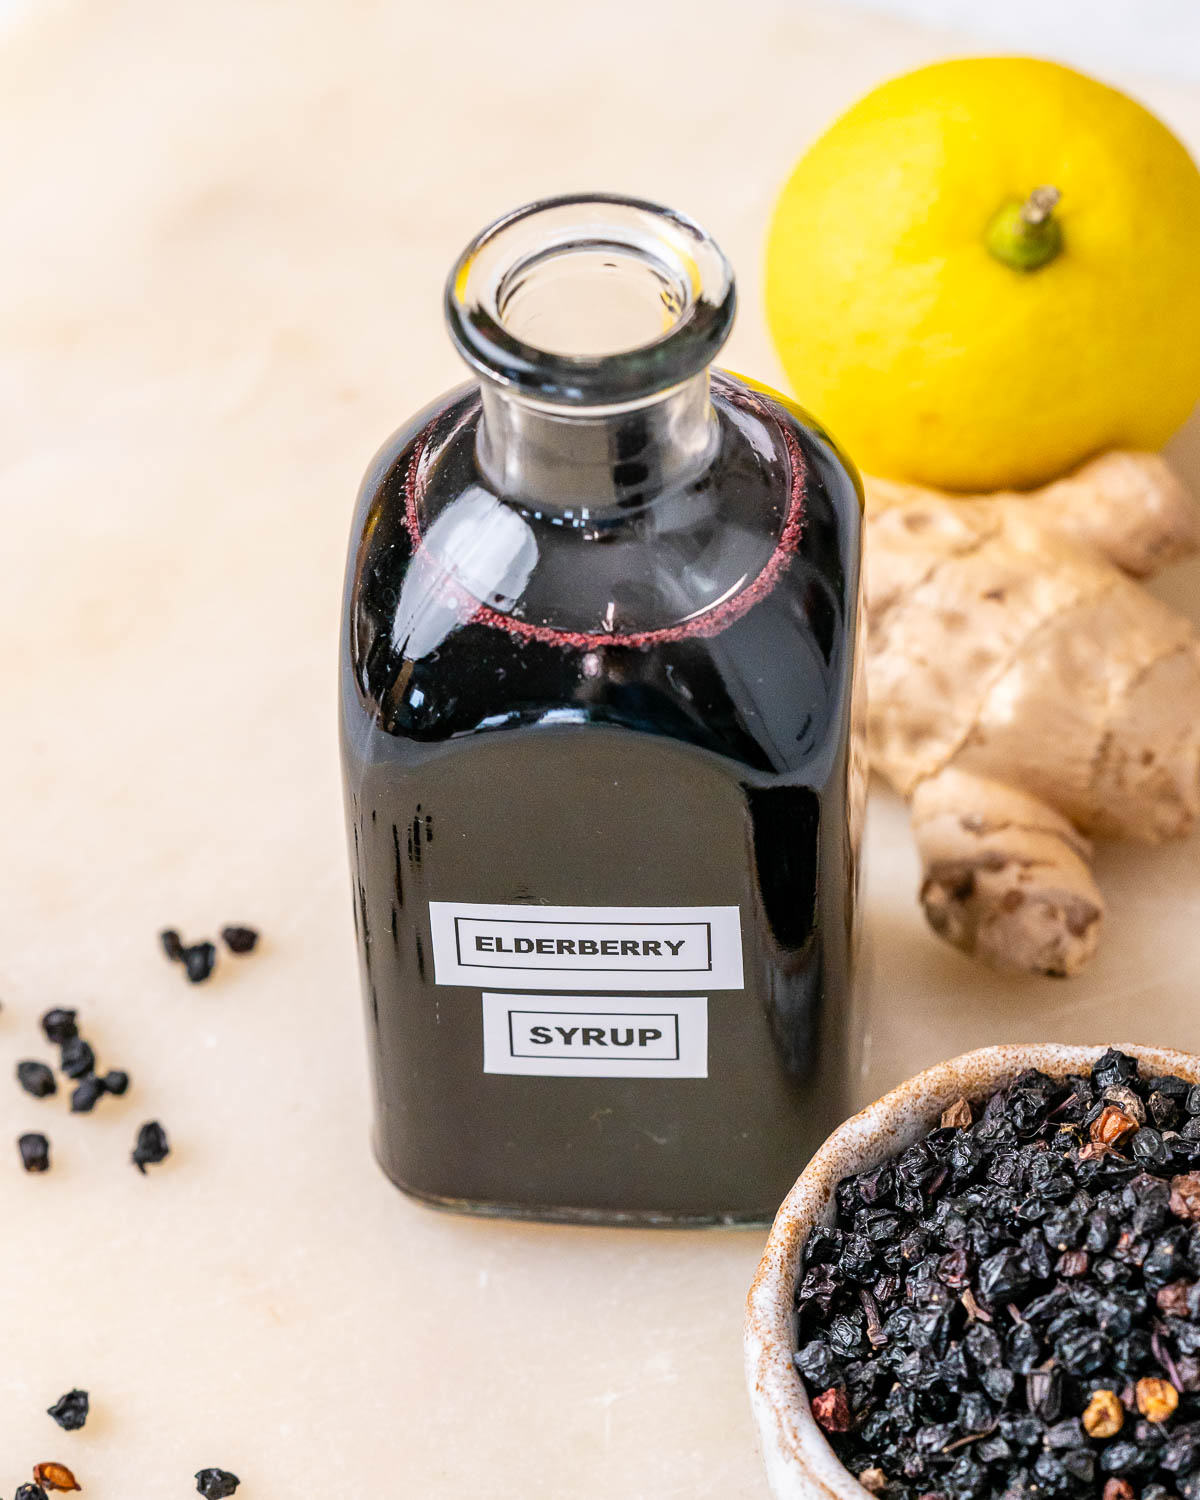
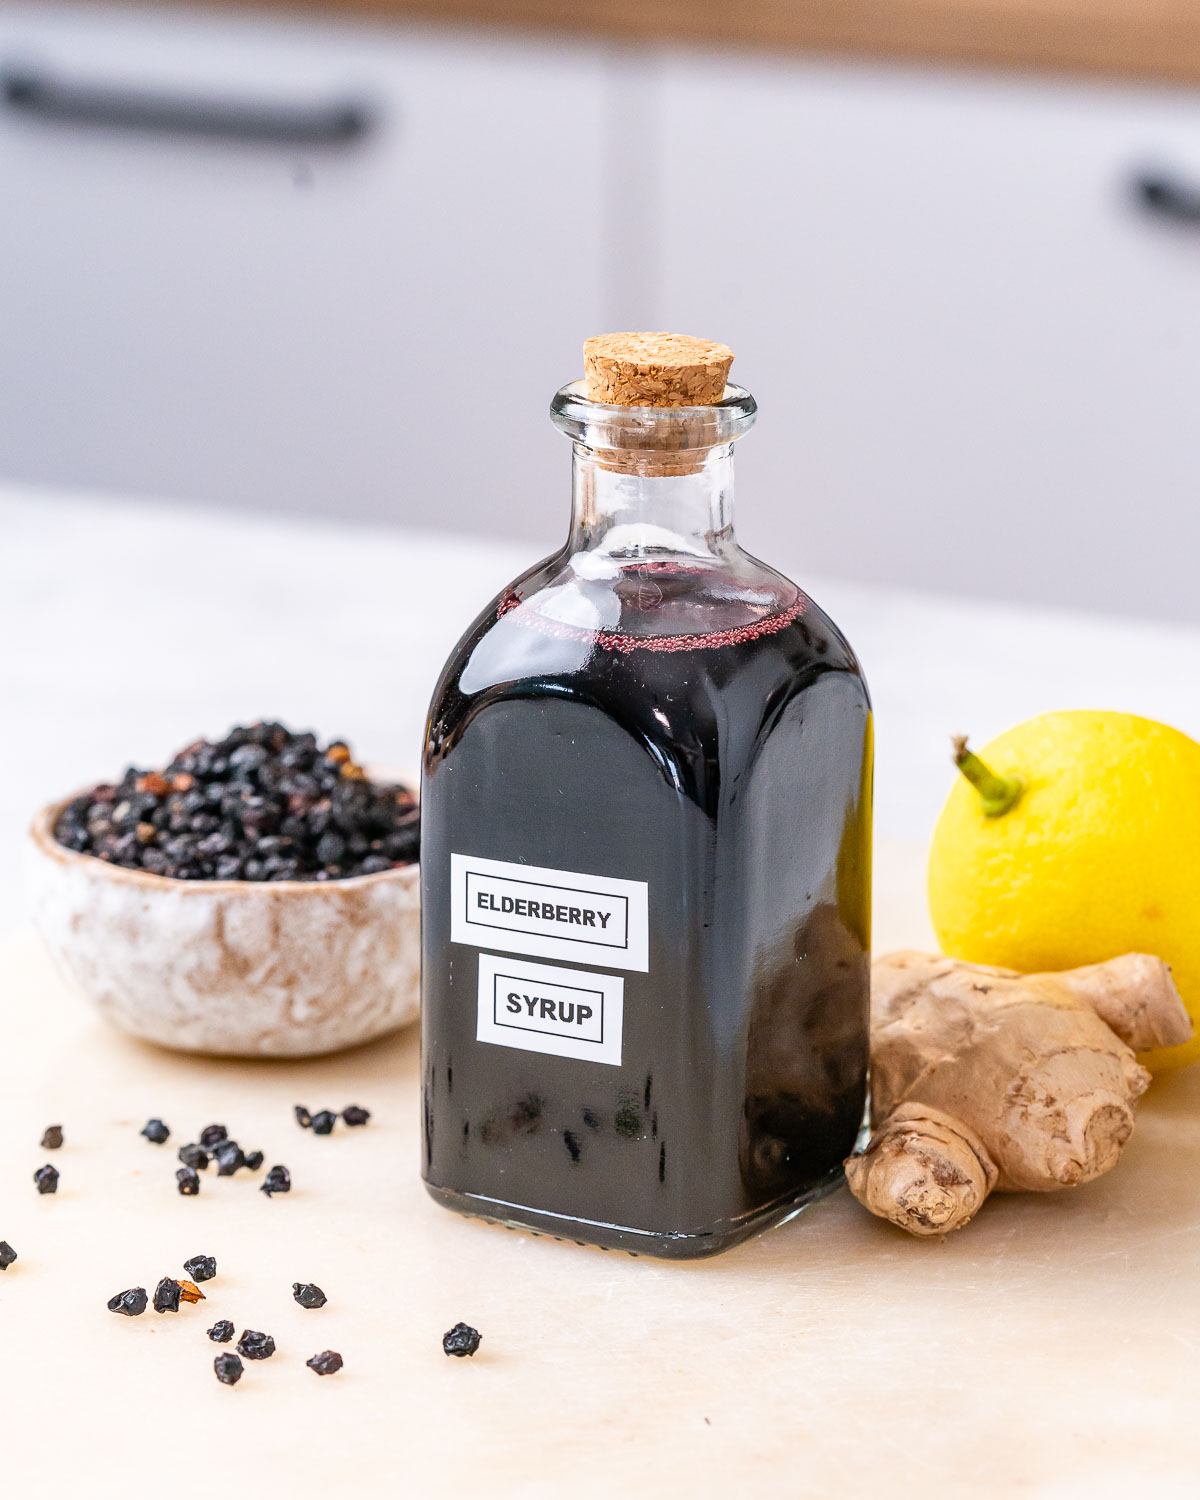
Stay healthy during cold and flu season with this easy elderberry syrup recipe. This evidence-backed simple immunity-boosting syrup is easy to make at home with dried elderberries, plus it costs less than the store bought brands. And the best part . . . it actually tastes great! Use it on oatmeal, in a mocktail, or add it to smoothies for a healthy boost!
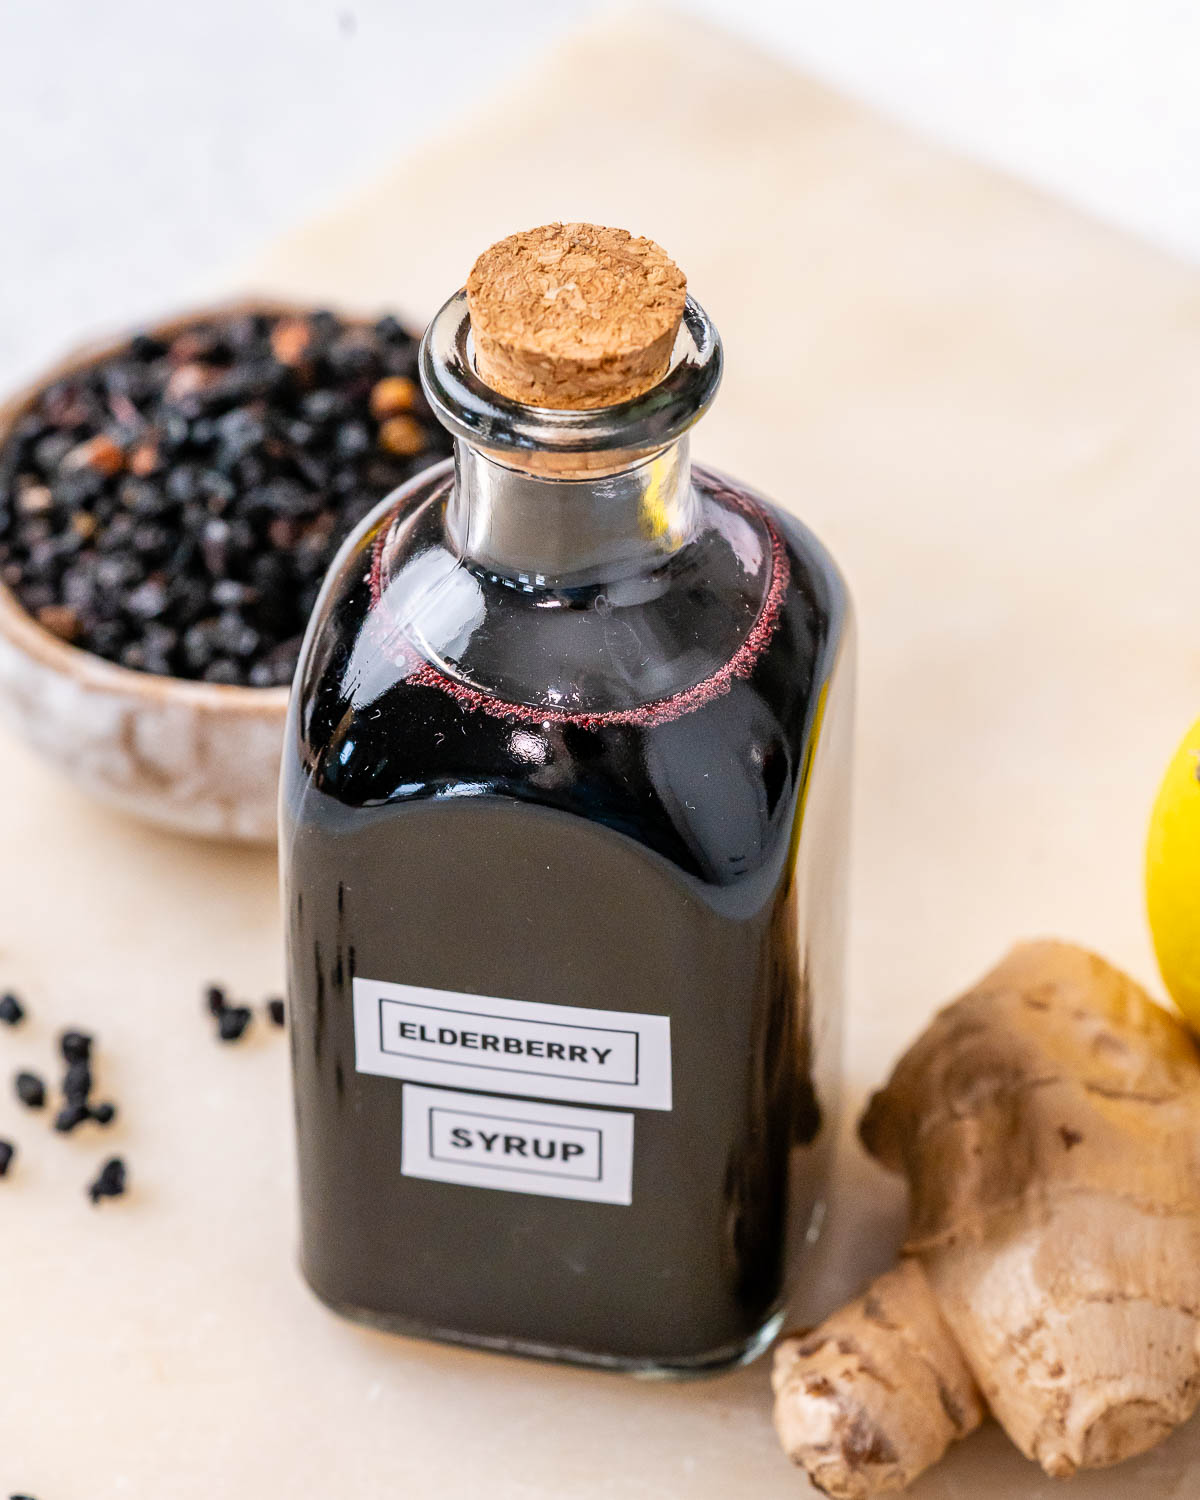
Table of Contents
- Why You’ll Love This Recipe
- Health Benefits of Elderberry Syrup
- Ingredients
- Variations And Substitutions
- How To Make This Elderberry Syrup Recipe:
- Rachel’s Tips For The Best Results
- How To Serve
- Dosage and Use:
- Storage Tips
- Recipe FAQs
- More ways we can be proactive in staying healthy:
- More Cold And Flu Articles You’ll Love:
- More Recipes To Pair With Elderberry Syrup:
- Easy Homemade Elderberry Syrup Recipe
Why You’ll Love This Recipe
Maybe you’ve purchased elderberry syrup at the store before, or maybe you’ve heard of it, and are wondering what all the hype is about?!
Elderberry syrup has become a staple in households for lots of good reasons: when made well, it is SUPER flavorful, antioxidant potent, and far superior to anything you can buy at the store. Here are a few more reasons you’ll love this recipe!
- More Affordable: While you can buy elderberry syrup for around $25 on amazon, it doesn’t last long. However, buying a bag of dried elderberry for around the same price, you can make your own elderberry syrup and it will last you throughout the whole season.
- Clean Ingredients: By making homemade elderberry syrup, you are removing things like refined sugar, preservatives, artificial flavors and colors, and thickeners and fillers.
- Supports cold and flu relief: There is actual scientific evidence that backs the usefulness of elderberry syrup during a cold or flu. I will link to it below.
- Tastes Amazing: An added bonus to this syrup is that it actually tastes great! My kids would much rather take this over any cold and flu medicine.
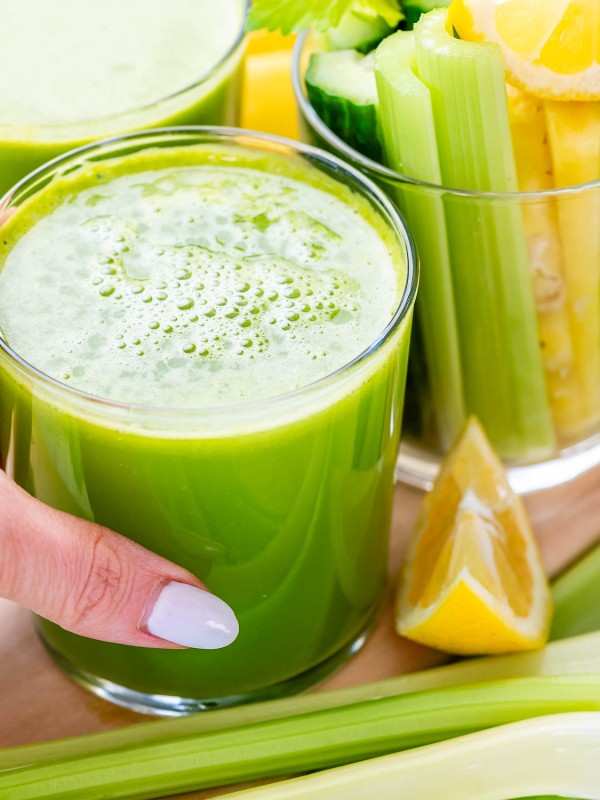
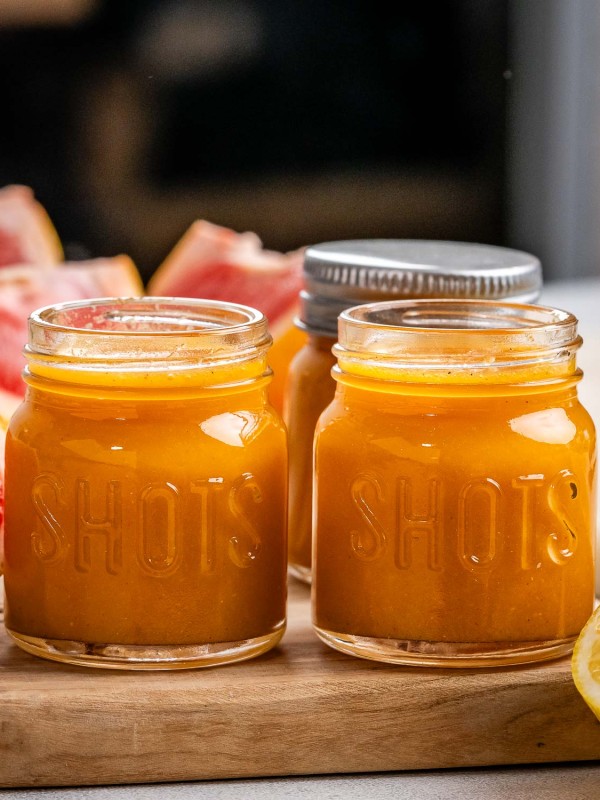
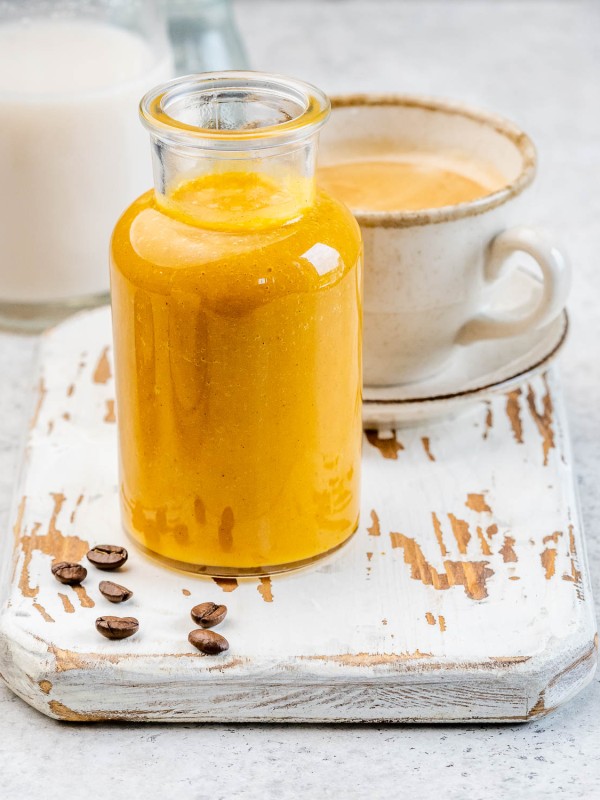
Did you know there are other immunity boosting ingredients you can use during the cold and flu months? Try out some of these tasty immune boosting recipes like this Homemade Immunity Gummies Recipe, this Homemade Immunity Shot Recipe, or this Healing Cantaloupe Orange Ginger Juice to help you stay healthier all season long.
Health Benefits of Elderberry Syrup
So, is it all hype, or are there valid reasons people are so obsessed with these little dried berries?
Elderberry syrup is one of the few natural remedies where the science is genuinely encouraging, not just anecdotal.
The strongest area of evidence for elderberries is in the research backing the reduction of the duration and severity of colds and flu’s, and it is legitimate.
According to one clinical study, “Symptoms were relieved on average 4 days earlier and use of rescue medication was significantly less in those receiving elderberry extract compared with placebo.” Read about this study here: [Source]
Elderberries are exceptionally high in anthocyanins, a class of flavonoid antioxidants. Lab studies consistently confirm that elderberry extracts have very high ORAC (Oxygen Radical Absorbance Capacity) scores higher than blueberries, cranberries, and many other commonly praised antioxidant foods.
Antioxidants neutralize free radicals, which are associated with cellular aging, inflammation, and chronic disease. This is well-established biochemistry, not speculation.
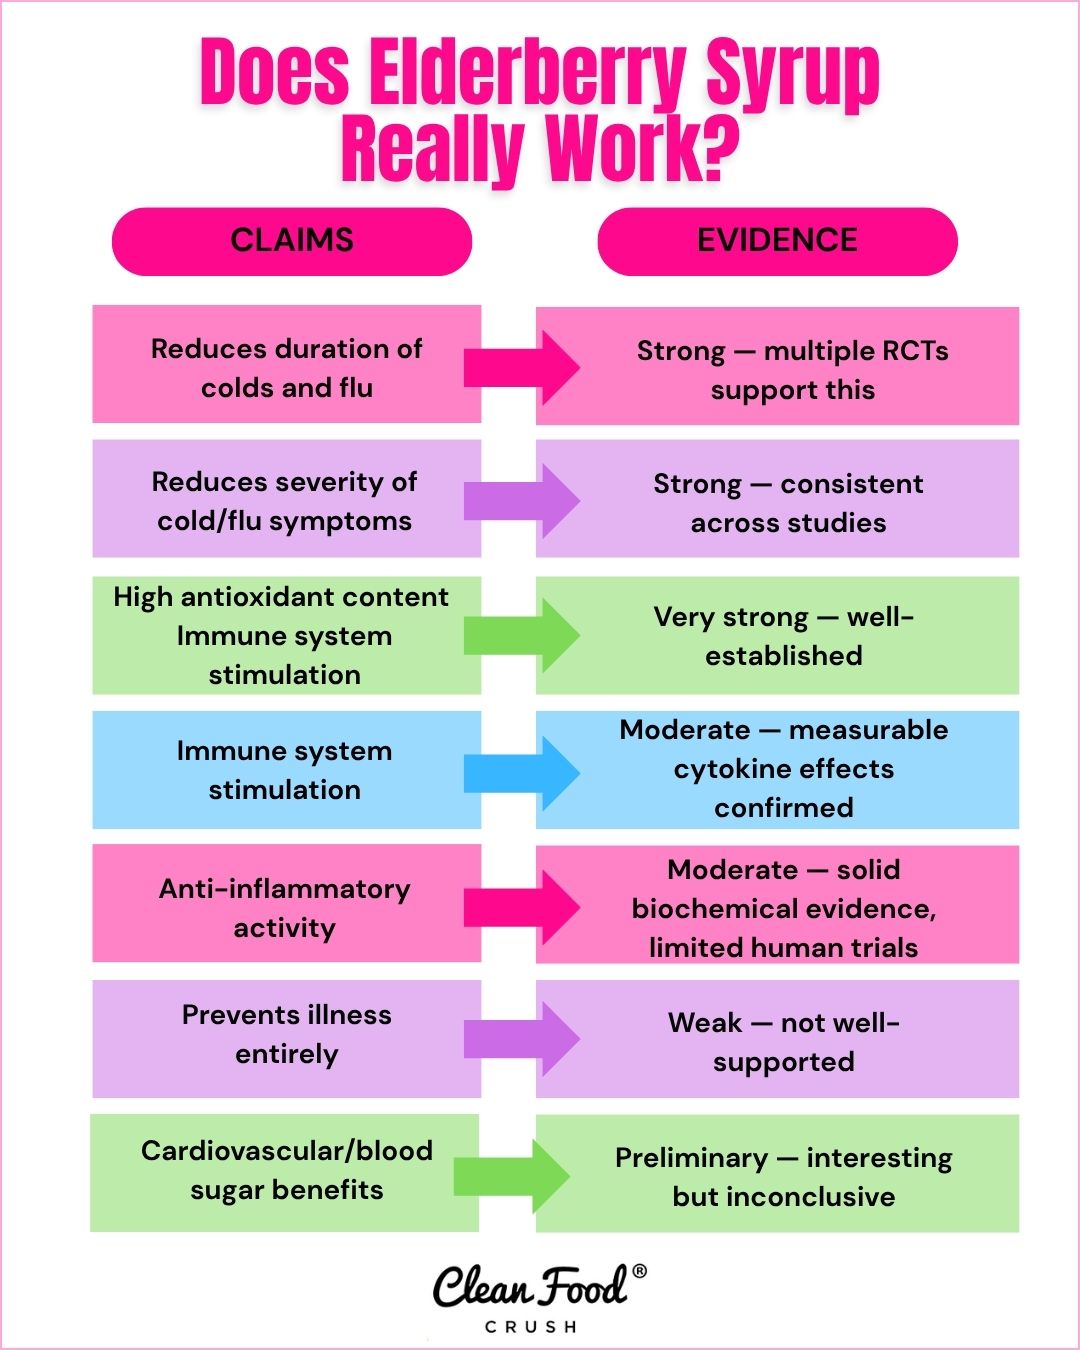
The Honest Bottom Line
| Claim | Evidence Level |
| Reduces duration of colds and flu | Strong — multiple RCTs support this |
| Reduces severity of cold/flu symptoms | Strong — consistent across studies |
| High antioxidant content | Very strong — well-established |
| Immune system stimulation | Moderate — measurable cytokine effects confirmed |
| Anti-inflammatory activity | Moderate — solid biochemical evidence, limited human trials |
| Prevents illness entirely | Weak — not well-supported |
| Cardiovascular/blood sugar benefits | Preliminary — interesting but inconclusive |
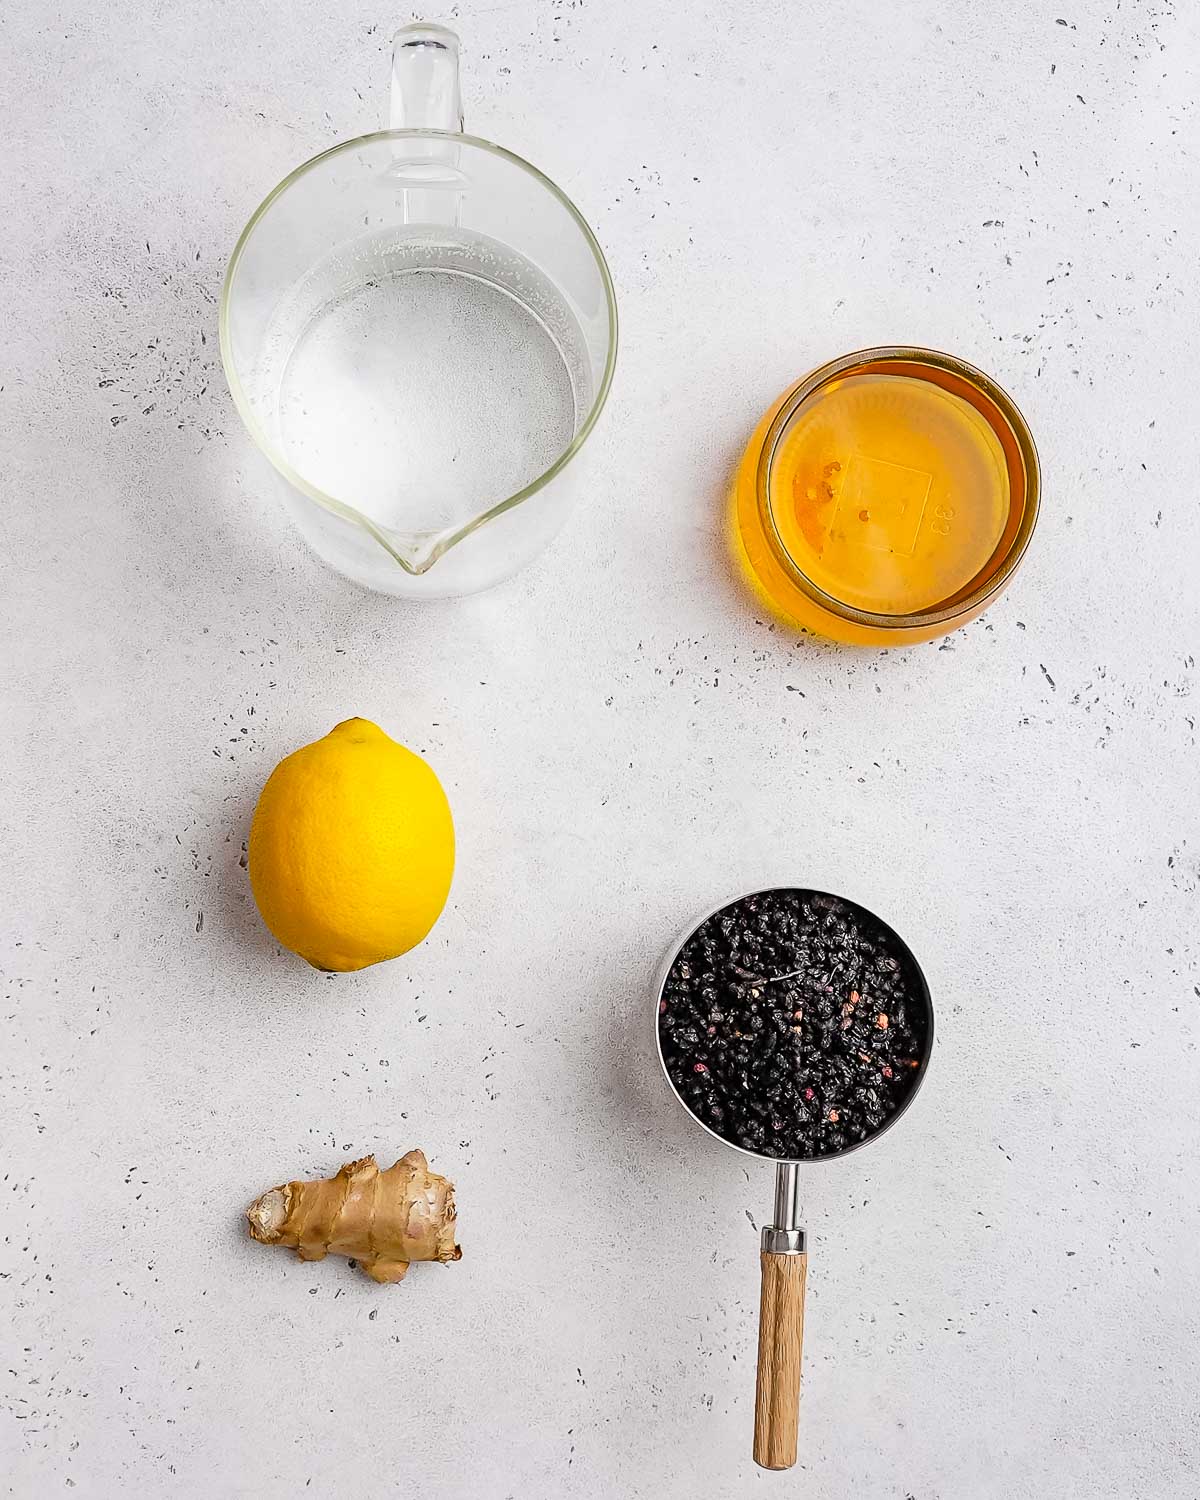
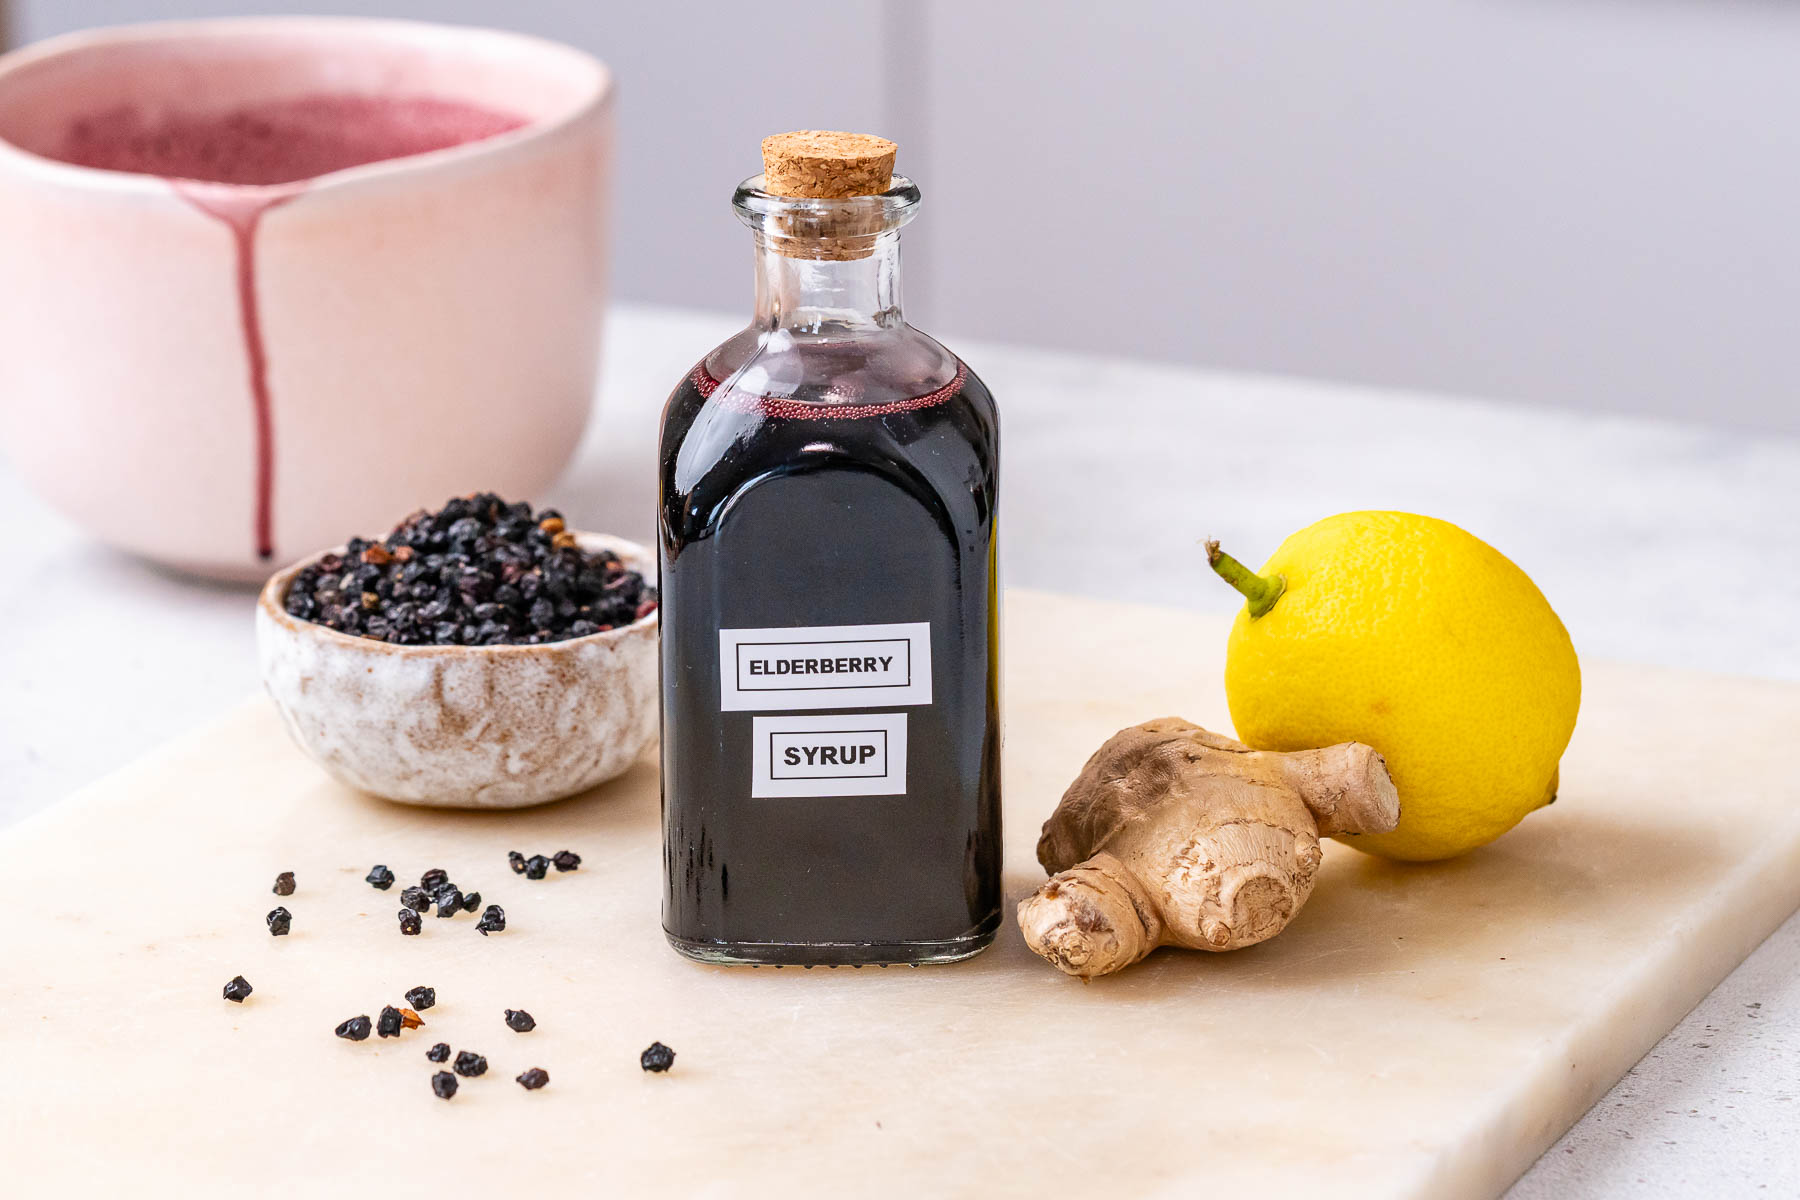
Ingredients
These are the simple ingredients that make this elderberry syrup recipe the perfect easy-to-make immunity booster for cold and flu season.
Makes 2 Cups, Approx. 32 Adult Servings
- 1 cup dried organic elderberries
- 1 organic fresh lemon, washed, sliced
- 2 inch knob of fresh ginger, peeled and thinly sliced or chopped
- 3 cups filtered water
- 1 cup raw local honey or manuka honey
Variations And Substitutions
- Add a squeeze of lemon juice for extra vitamin C.
- Substitute maple syrup for honey when giving this recipe to children under the age of 12 months.
How To Make This Elderberry Syrup Recipe:
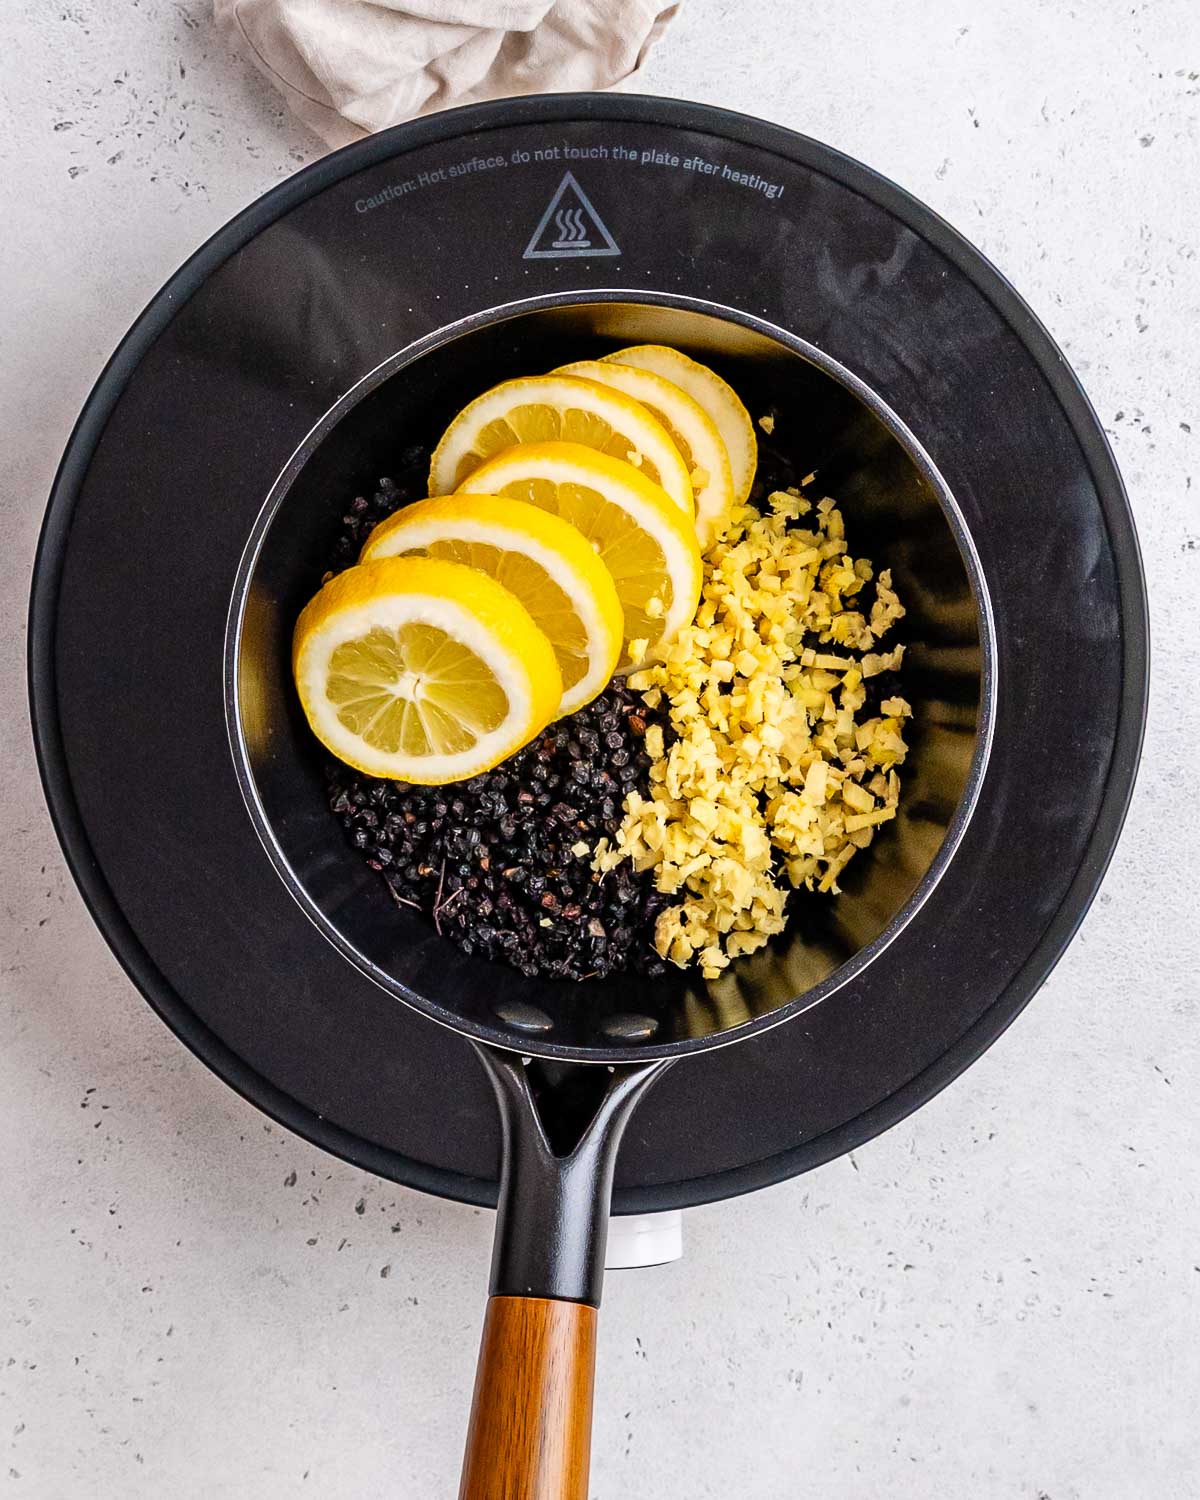
Step 1. Bring Ingredients To A Boil:
- Bring your elderberries, water, ginger, and lemon slices to a gentle boil, then reduce to a low simmer for 45 minutes to an hour. You want a slow, steady reduction, not a rolling boil that can destroy delicate compounds and make the syrup taste bitter or harsh. The liquid should reduce by approximately half, leaving you with a deep, dark, richly colored concentrate.
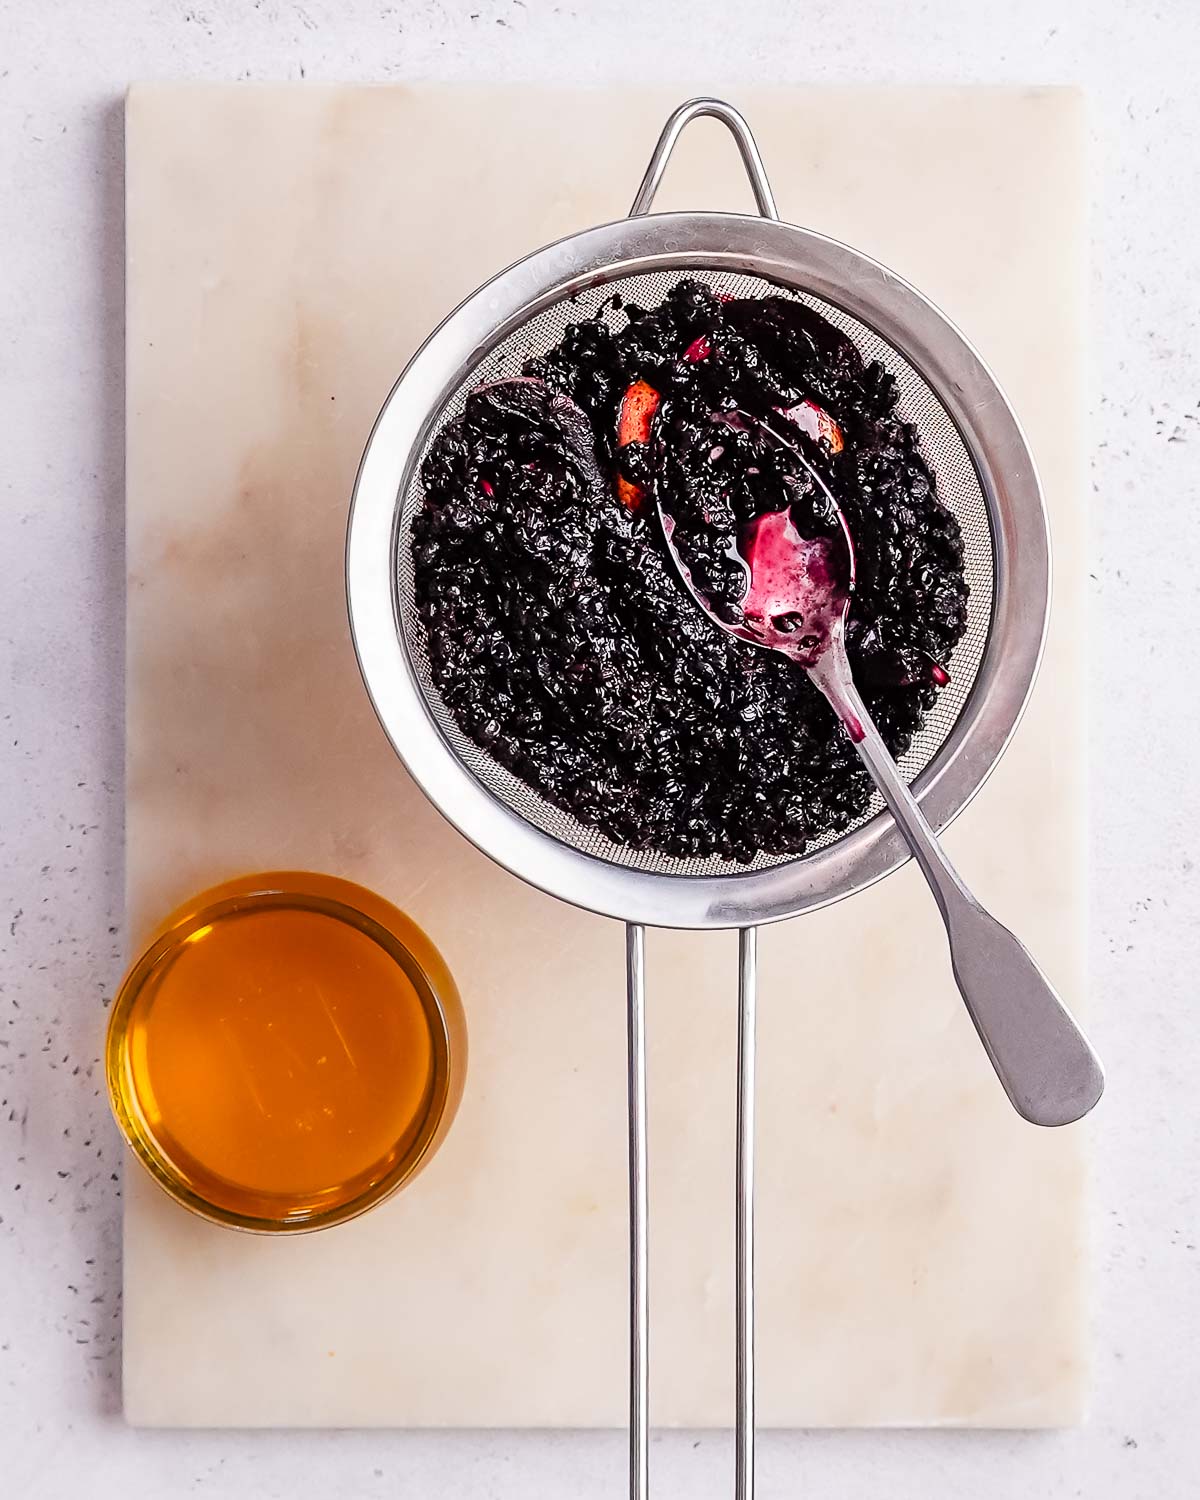
Step 2. Mash the Berries Before Straining:
- Once the mixture has simmered and reduced, use a potato masher or the back of a large spoon to firmly mash the berries before straining. This releases additional juice and compounds from the berries that would otherwise be left behind. You will be surprised how much extra liquid you can extract with a good mash. Then strain through a fine mesh strainer or cheesecloth, pressing and squeezing to get every last drop.
Step 3. Let It Cool Before Adding Honey:
- This is one of the most important steps people get wrong. Raw honey must be added only after the liquid has cooled to below 95–100°F. Adding honey to hot liquid destroys its beneficial enzymes and antimicrobial properties, which are a significant part of why you are using raw honey in the first place. Be patient, let it cool, and then gently whisk in the honey.
Disclosure: While each of these ingredients are proven to assist with overall health, if you’re dealing with an illness or medical issues, ALWAYS check with your doctor before including new foods or herbs.
Statements regarding dietary supplements have not been evaluated by the FDA and are not intended to diagnose, treat, cure, or prevent any disease or health condition.
Rachel’s Tips For The Best Results
- The best elderberry syrup comes down to high quality organic ingredients, lots of patience during the simmer, protecting your raw honey by adding it when liquid has cooled down, and storing your syrup properly in a glass jar.
- I used a non-toxic sauce pan to simmer the berries.
- The best way to strain the berries is by using a fine mesh strainer.
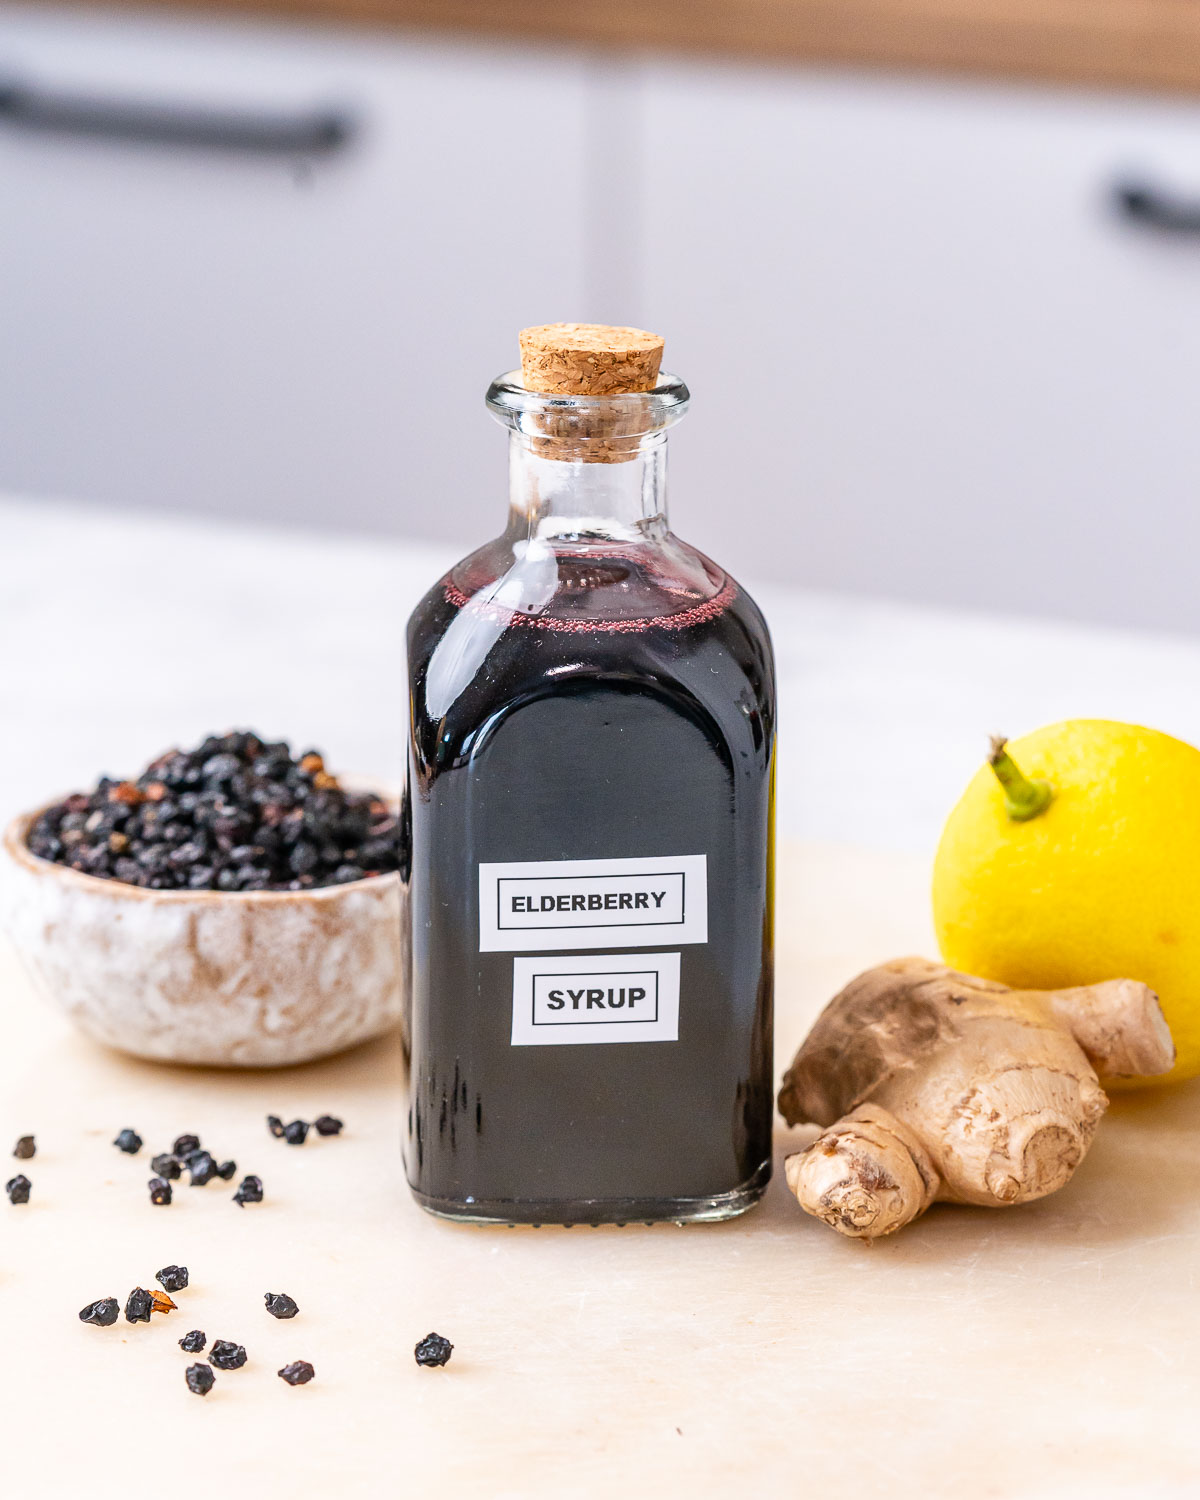
- It is important to store the elderberry syrup in an air tight container like this Cruet bottle with a stopper.
- A wooden ladle will help you get all the berries out of the pan and into the strainer.
For more recipes with immune boosting qualities, try this Quick Ginger-Chili Shrimp, this Lemony Chicken + Broccoli Skillet, or this Breakfast Papaya Boats Recipe.
How To Serve
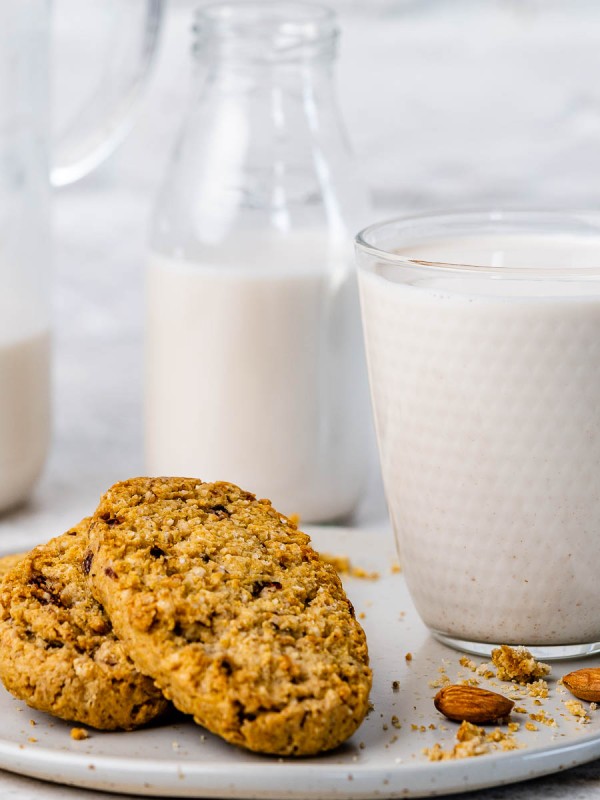
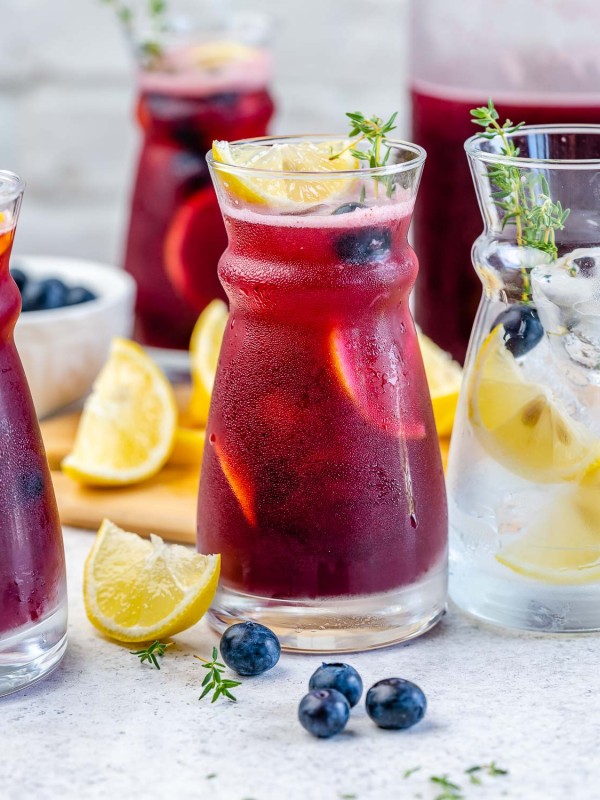
Beyond taking it straight off the spoon, elderberry syrup is wonderful stirred into oatmeal, drizzled over yogurt, mixed into sparkling water, added to smoothies, or used as a pancake topping.
Dosage and Use:
*In case of illness or health conditions, ALWAYS check with your healthcare provider before taking a new supplement, foods, or herbs.
*For children under one year old, always substitute maple syrup instead of honey due to the risk of infant botulism.
For general wellness maintenance, most adults take 1 tablespoon daily. At the first sign of illness, many people increase it to 1 tablespoon every 2–3 hours. For children, a typical dose is 1 teaspoon daily for maintenance.
Storage Tips
Pour your finished syrup into a clean glass jar or bottle. Mason jars work perfectly for this. Store in the fridge, where it will keep for 2 to 3 weeks. If you want to make a larger batch and extend its life, you can freeze portions in ice cube trays and thaw as needed, giving you up to 6 months of shelf life without any loss of quality.
Recipe FAQs
Can I make elderberry syrup with dried elderberries?
Yes, you can make elderberry syrup using dried elderberries. We suggest using USDA certified organic dried elderberries from a reputable source such as Purify Life.
How long should you boil dried elderberries?
When making elderberry syrup, you want to boil dried elderberries for between 40-45 minutes in order to make them safe to eat.
Can homemade elderberry syrup go bad?
Yes, like anything that is made at home from natural ingredients and free from preservatives, elderberry syrup will go bad after 2-3 weeks in the refrigerator or after 6 months in the freezer.
Can I eat raw elderberries?
No, you cannot eat raw elderberries. They contain a substance called cyanogenic glycosides which is not suitable to ingest before cooking the berries.
How do you make elderberries safe to eat?
To make elderberries safe to eat, they must be simmered in water for at least 40-45 minutes.
More ways we can be proactive in staying healthy:
- Water: hydrate with plenty of pure filtered water daily.
- Get outside for a few minutes to be active, and get some vitamin D when the sun peeks through.
- Choose whole foods + avoid processed food as much as possible.
More Cold And Flu Articles You’ll Love:
More Recipes To Pair With Elderberry Syrup:
- Good Morning Oatmeal Waffles
- Sweet Potato Pancakes
- Overnight Oatmeal High-Protein Banana Pudding Parfaits
- Blue Sky Smoothie Bowls
- Summer Smoothies
Did you try this Elderberry Syrup recipe? I’d love to hear about it in the comments!
🩷Rachel
Easy Homemade Elderberry Syrup Recipe
Ingredients
- 1 cup dried organic elderberries
- 1 organic fresh lemon, washed, sliced
- 2 inch knob of fresh ginger, peeled and thinly sliced or chopped
- 3 cups filtered water
- 1 cup raw local honey or manuka honey
Instructions
- Place your elderberries in a large saucepan. Add the lemon, ginger, and water.
- Bring to a gentle boil, then quickly reduce to LOW. Simmer while gently stirring occasionally for about 45-55 minutes, until the liquid is reduced to just over 1 cup remaining.
- Remove from heat and cool on the counter.
- Once cool, strain and reserve the liquid. Use the back of a spoon to gently push all of the valuable liquid out of the elderberries, so you get every drop.
- Whisk the elderberry liquid together with your honey.
- Transfer to a glass bottle or jar and refrigerate for up to 2 or 3 weeks.
- Enjoy!
- Love, Rachel
Notes
Nutrition
Nutrition information is automatically calculated, so should only be used as an approximation.