This post contains affiliate links. Please see our disclosure policy.
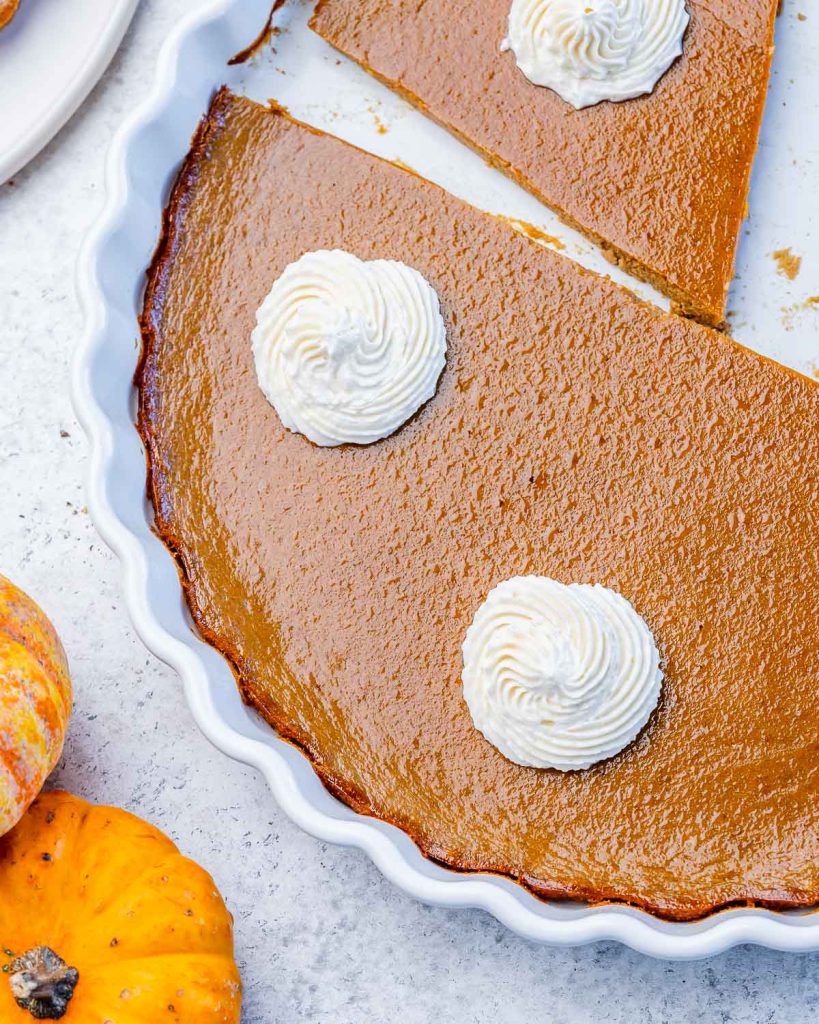
Crustless Pumpkin Pie 🍂🍁🍃
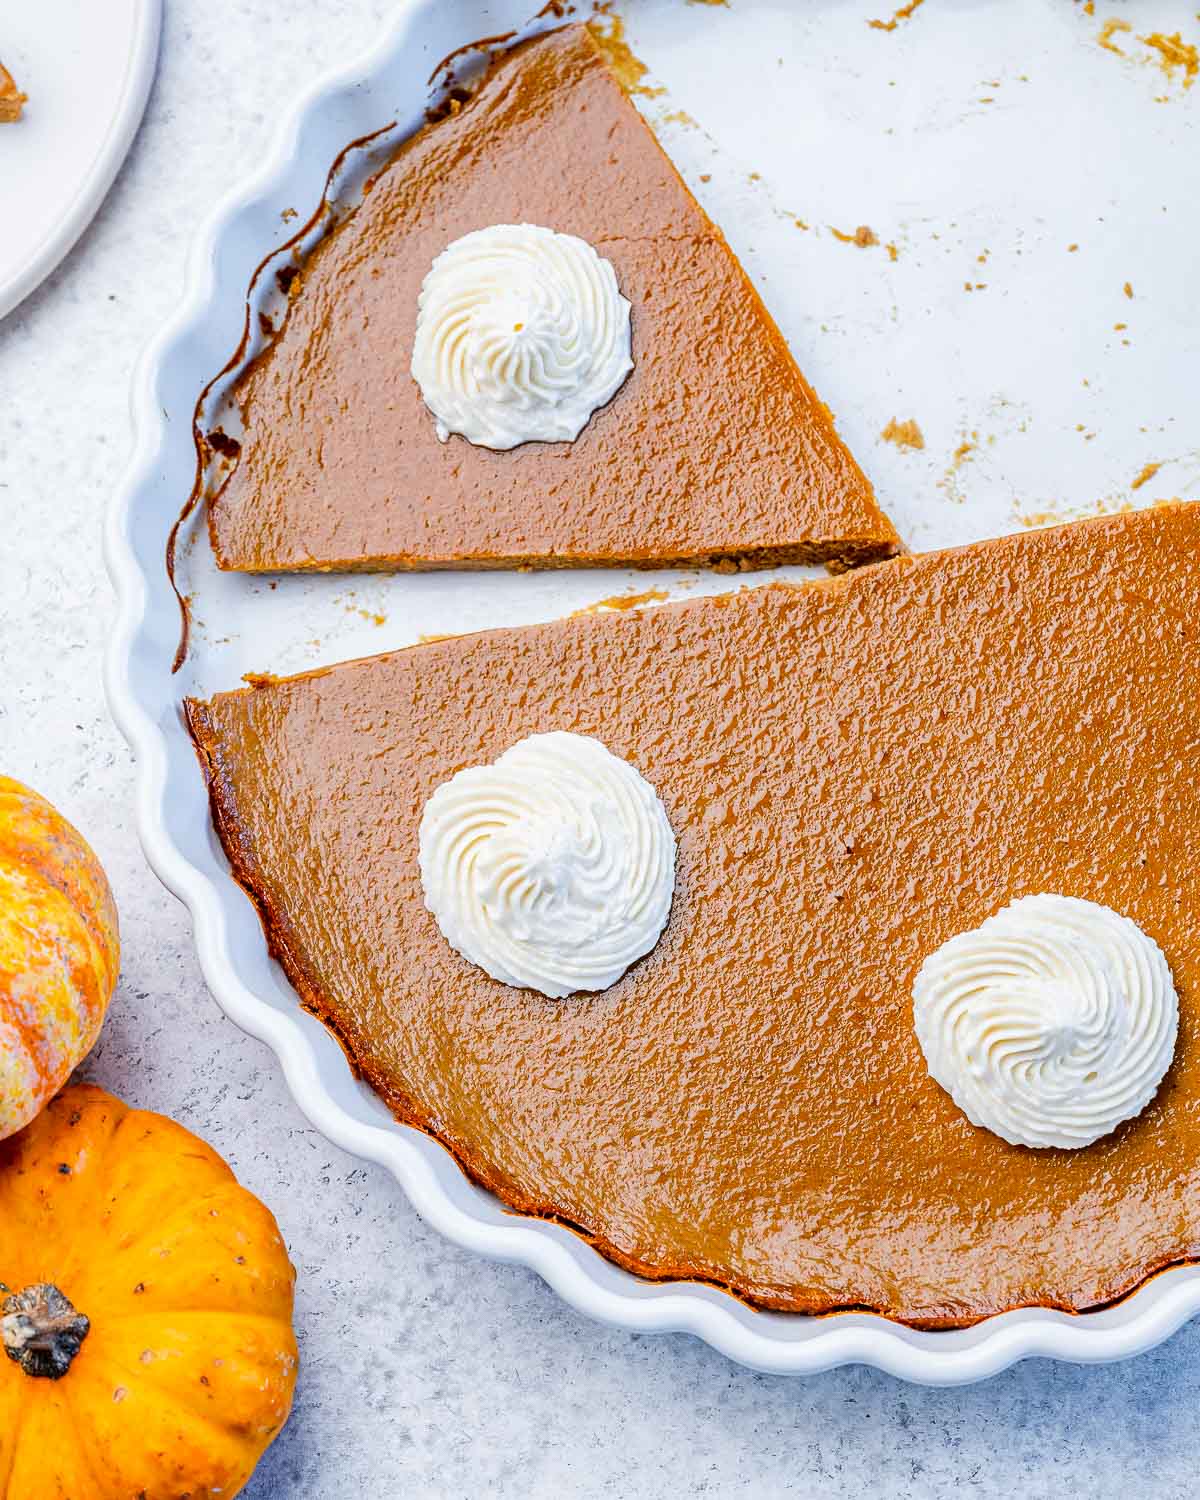
First off, let me be clear that we’ve got nothing against pie crusts. In fact, we love a really good homemade pie crust.
This crustless pumpkin pie is an EXCELLENT idea for those needing a gluten-free dessert, those saving their carbs for an extra serving of mashed potatoes 😉 OR simply skipping the crust because pie crusts can be tricky to make!
Just a FUN option for those who appreciate having options. 😁
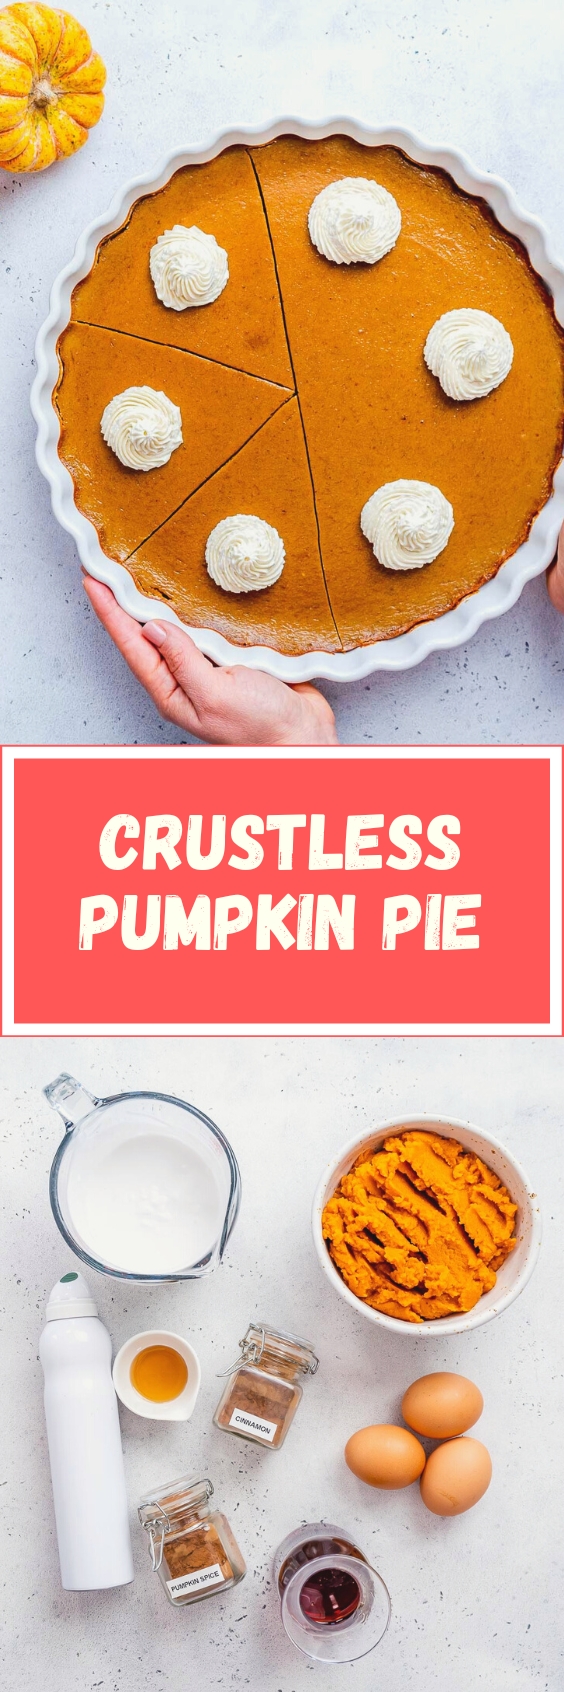
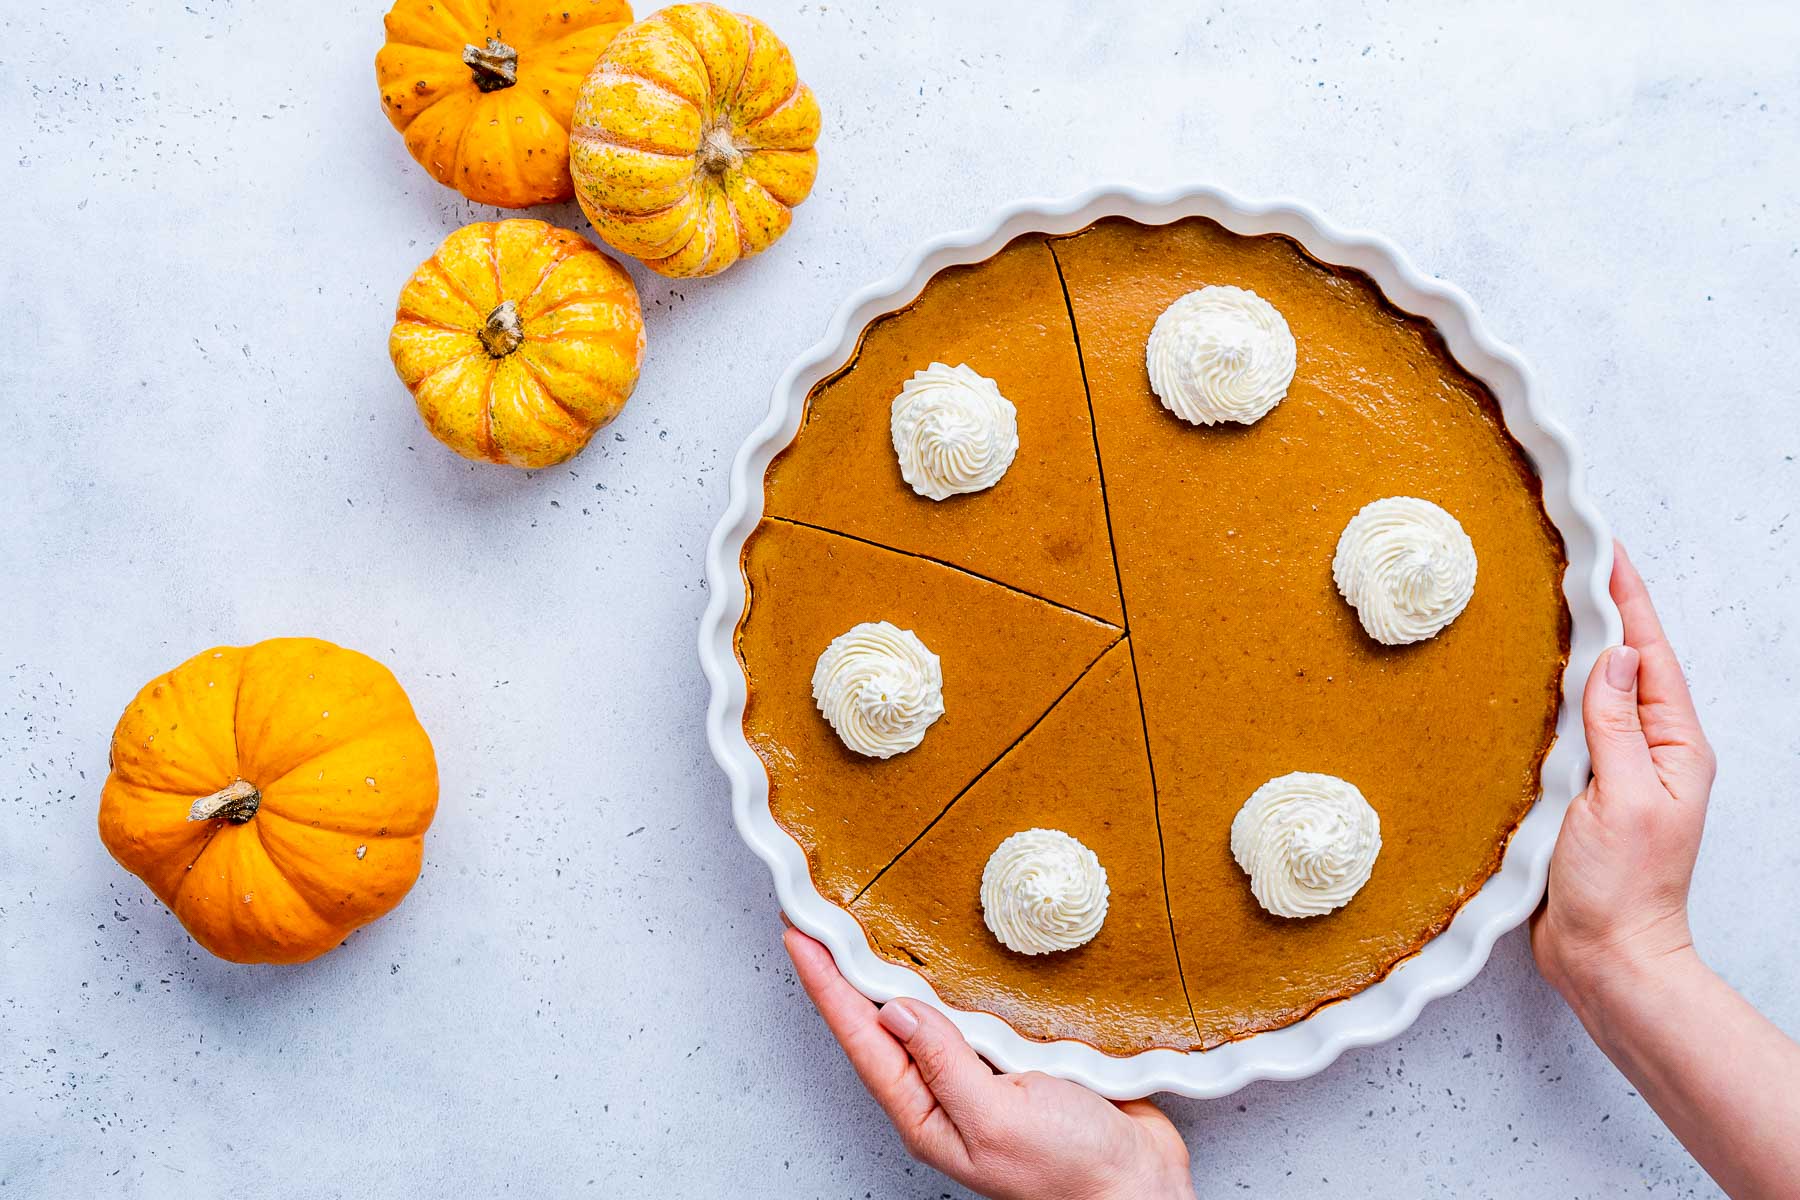
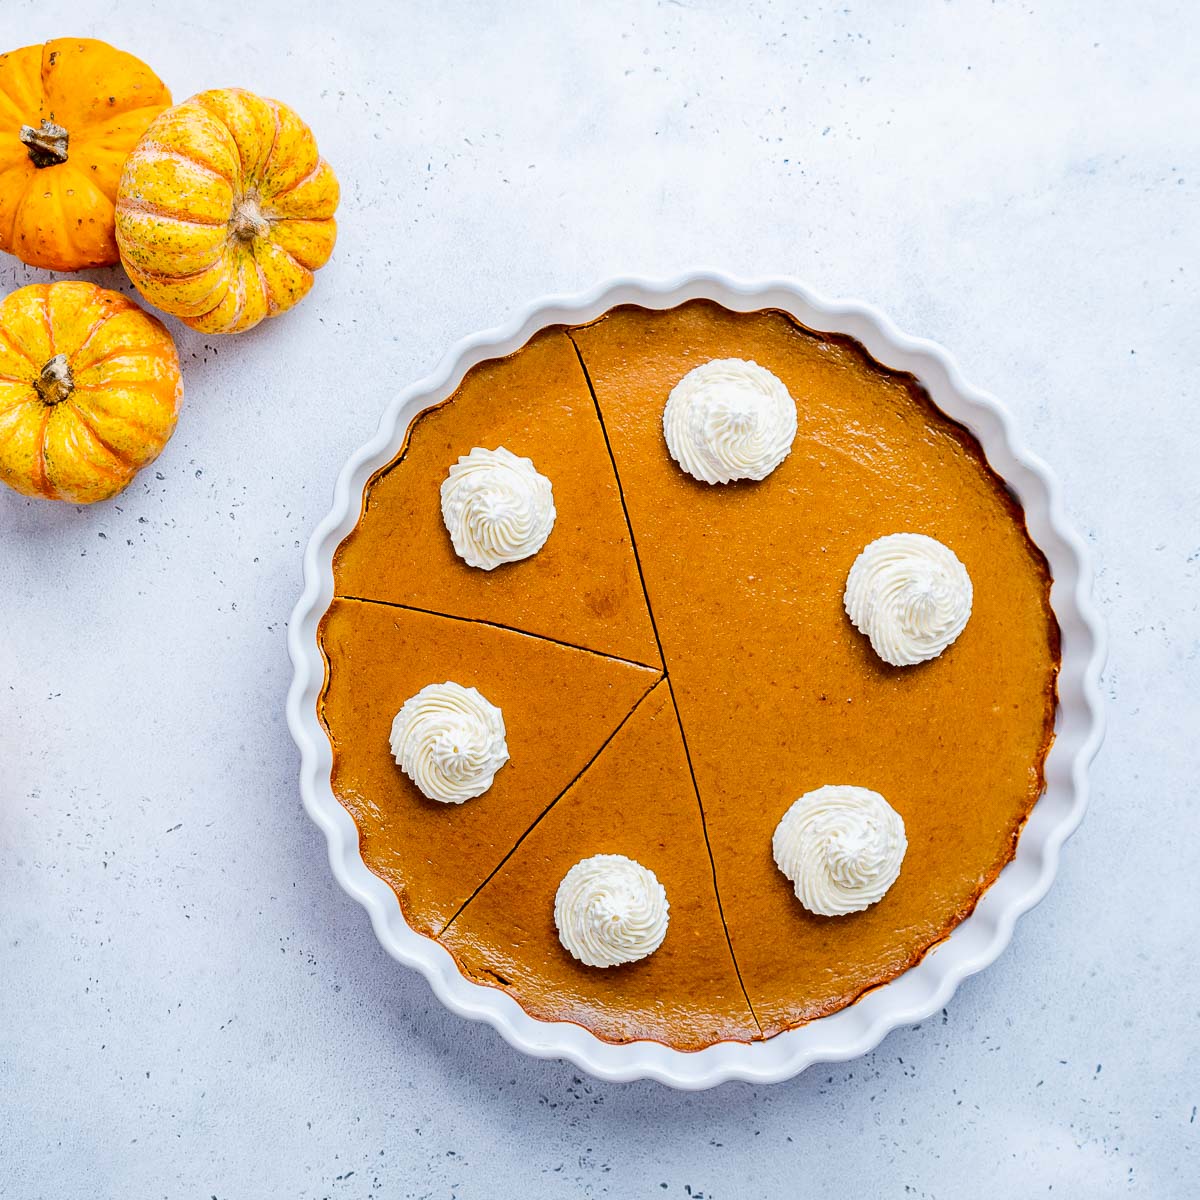
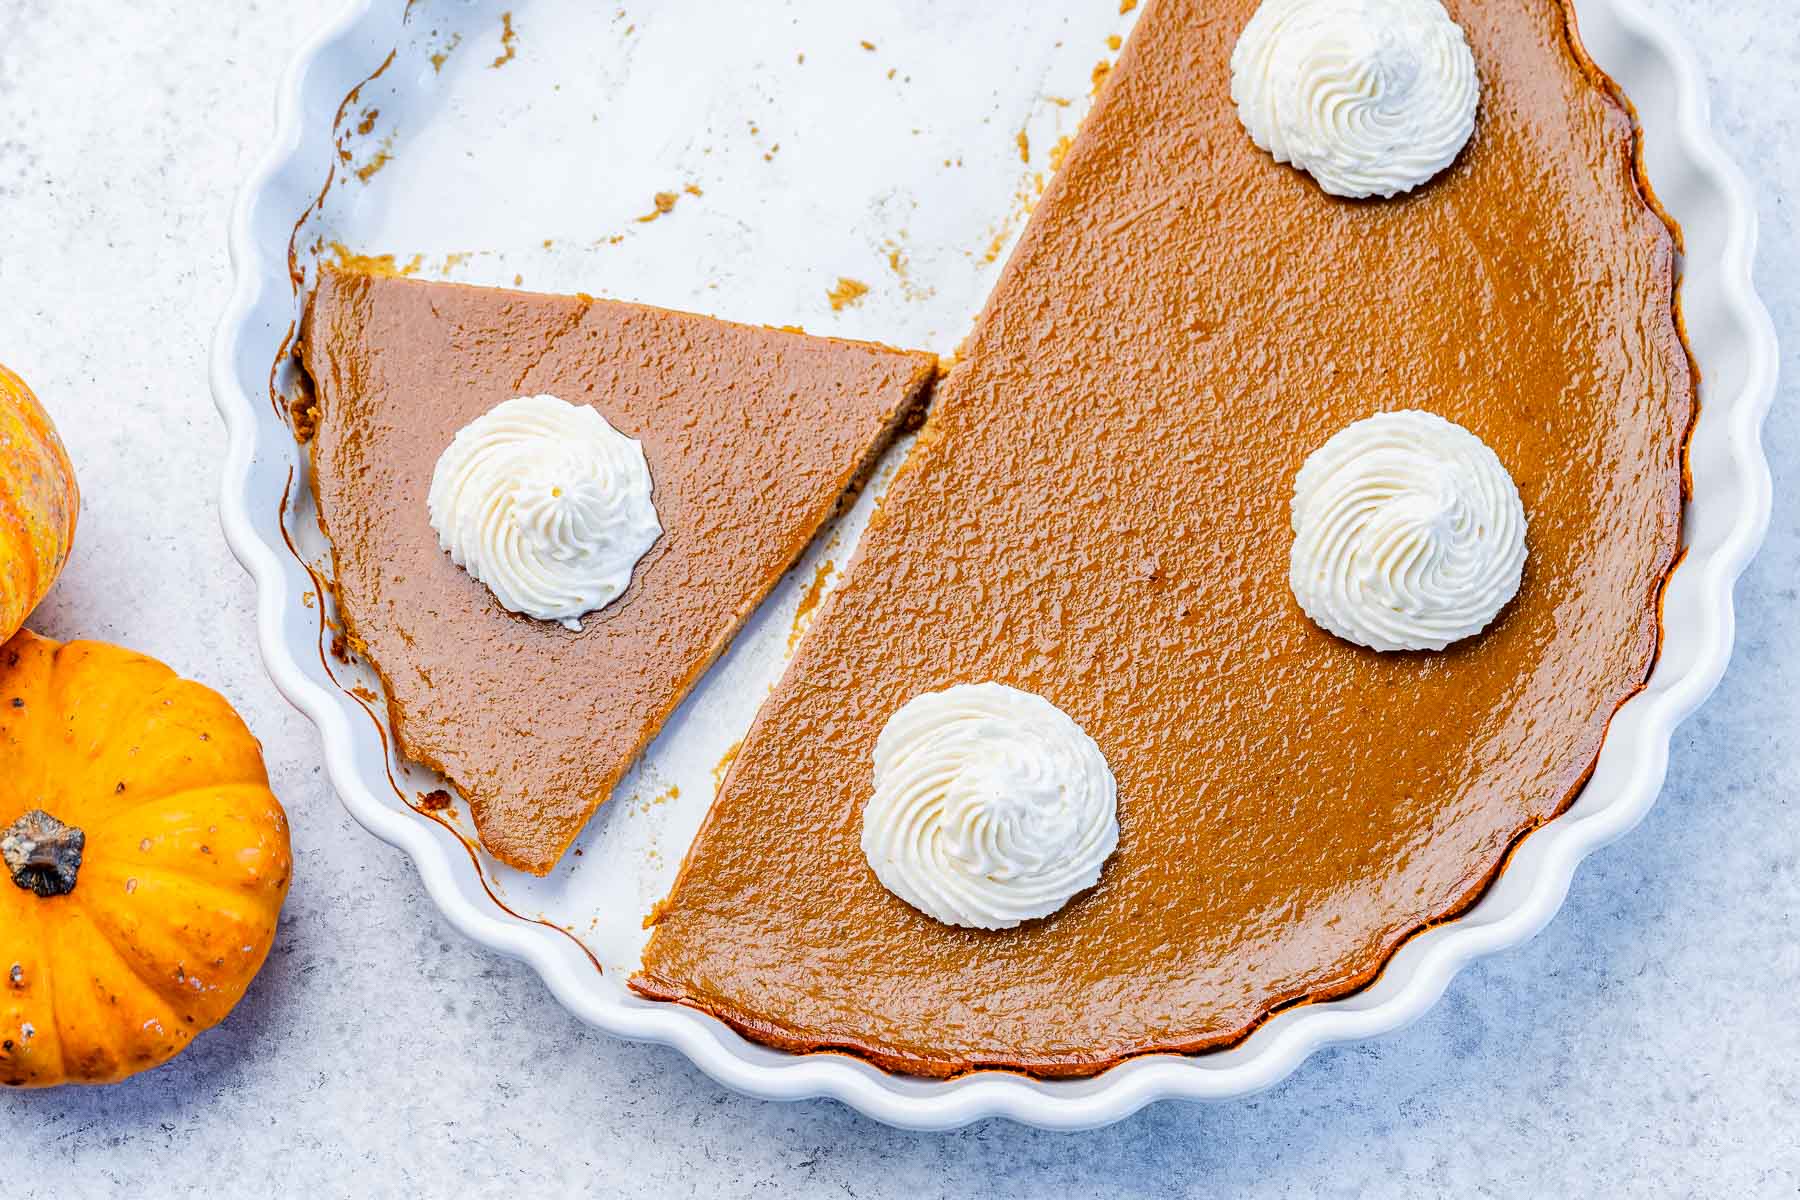
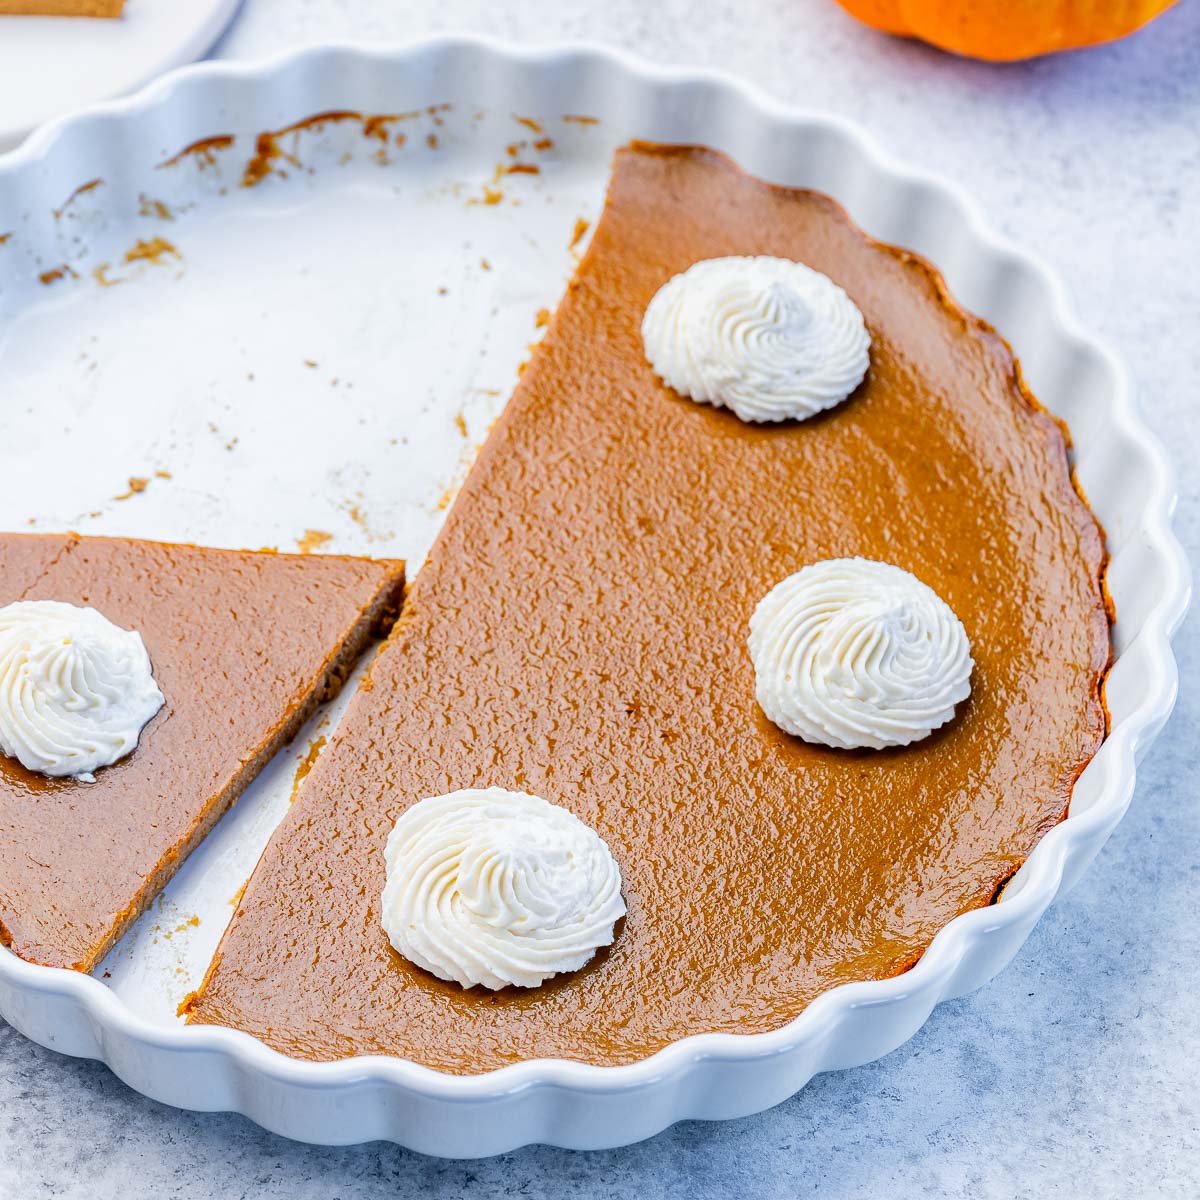
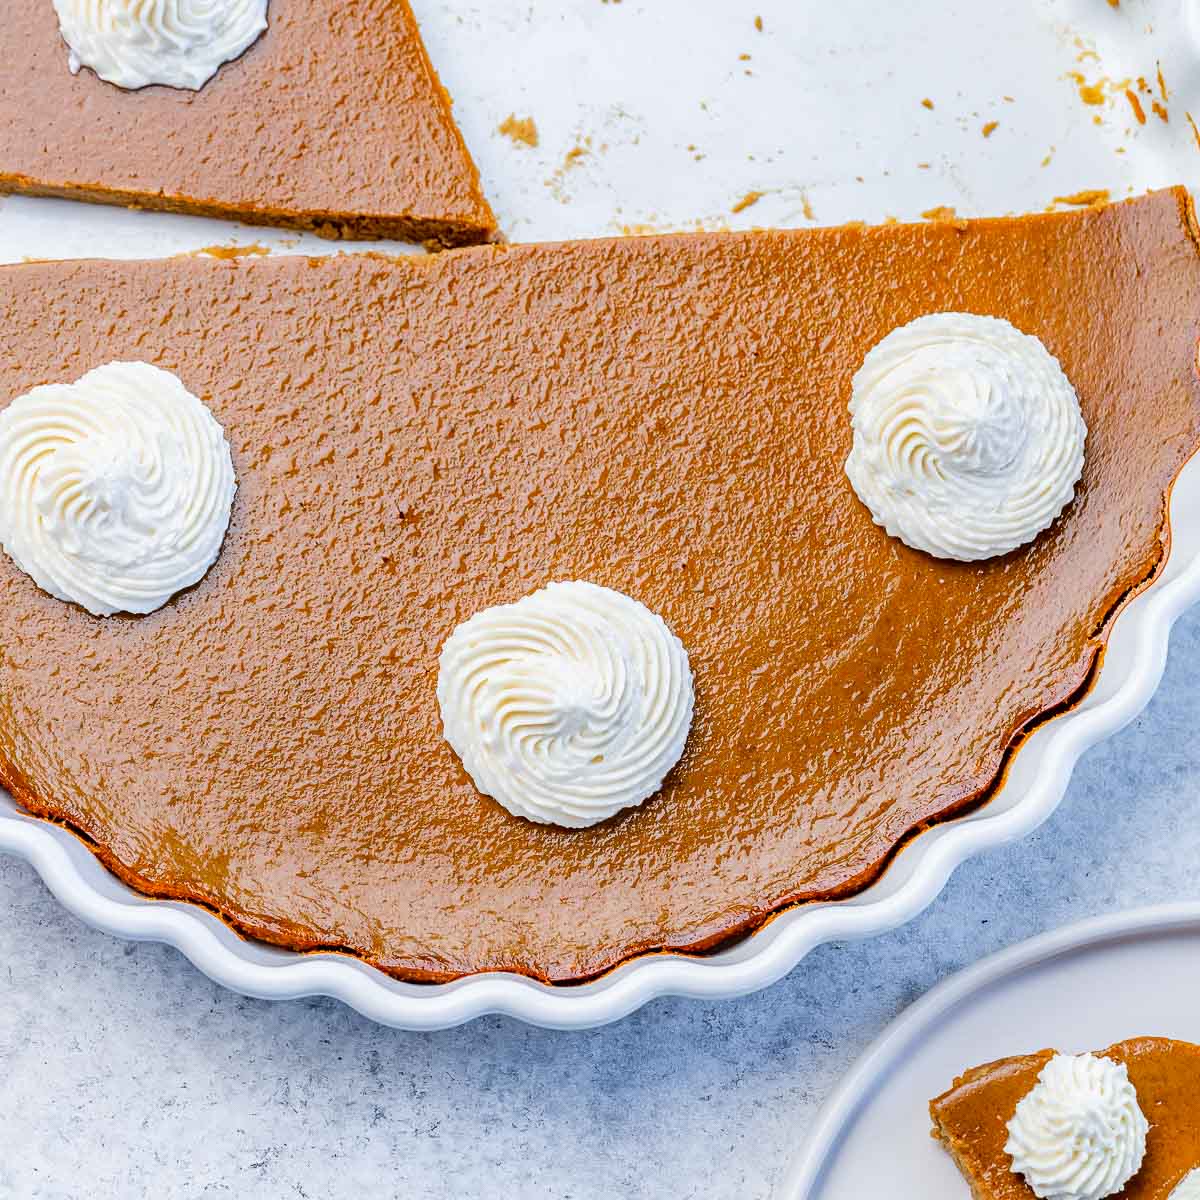
This crustless pumpkin pie is so deliciously indulgent and silky-smooth that you really won’t be missing the crust.
🎃I used fresh homemade pureed pumpkin (recipe link below) to make the filling, and the fresh pumpkin flavor was the star of this show.
The coconut whipped cream dollop on top just finished things off so nicely and definitely made our pie taste like an incredibly decadent dessert meant for the holiday season.
Be sure to read through the full instructions before making this pie, especially if you’re planning ahead for the holidays. It requires a bit of planning.
Are you a pumpkin fan? I’m not just a fan. I’m completely obsessed. COMPLETELY.
There are SO MANY reasons to add pumpkin to your diet – it’s loaded with vitamins, minerals, and plant compounds that are good for you.
PLUS … it’s low in calories and tastes great.
Here are just a few of pumpkin’s benefits: it’s good for your vision, immune health, and it may even help reduce your risk of cancer!
Pumpkin also protects your heart, lungs, and kidneys, helps battle high blood pressure and it’s good for your skin.
Eating pumpkin can keep us looking young thanks to beta-carotene that helps protect us from the sun’s wrinkle-causing UV rays = younger-looking skin.
Next time you’re at the vet ask about possible pumpkin benefits for your furry friends as well! We like to incorporate a bit of pumpkin into our pet’s diets too! Definitely do your research on this and check with your vet before changing your pet’s feeding habits.
REFERENCES
Which Pumpkins are Edible? Can we eat just *any* Pumpkin?
Yes! We can. Every pumpkin is totally edible…but some pumpkins are better than others.
Every part of the pumpkin is edible: young stems, leaves, shoots, and tendrils of pumpkin plants.
If you are harvesting your own pumpkin stems, be sure to only use the young bright green shoots.
We’re NOT talking about the thick dried-up stem (that would be like eating a tree branch – I’m only guessing here, lol).
So try the leaves, shoots, and stems when they are young and still tender enough to eat. You can try adding them to soups, stir-fries, and skillet meals.
I even remember my grandmother stuffing pumpkin blossoms for a special harvest meal once when I was young.
You can eat the pumpkin plant leaves, the pumpkin blossoms, the entire pumpkin itself, and the seeds inside any pumpkin.
BUT – just because every pumpkin is edible doesn’t mean they will all equally taste as good.
Some pumpkin varieties are truly best for carving or decorating, and then there are others that taste best for eating.
Have fun experimenting with different types of pumpkins if you have a few different ones you want to try cooking with! Hit up those local farm stands for the best variety.
Best Pumpkins for Eating:
The VERY BEST tasting pumpkins for roasting and cooking (like this recipe below, soups, and treats) are those labeled as “sugar” or “pie” pumpkins which are smaller and sweeter pumpkins.
There are a few larger pumpkin varieties such as cinderella pumpkins, fairytale pumpkins, and jarrahdale pumpkins that are also pretty good to cook up and use in your recipes!
The pumpkins typically used to make Jack O’ Lanterns are still fine to eat but they are pretty bland. Save the seeds because they are great for roasting though!
One other thing to note: Butternut squash can be substituted for pumpkin in pretty much any pumpkin recipe, which is great because some years pumpkins are more difficult to find.
✅ Canned pumpkin puree can also be a great way to get your pumpkin in. Add it to your oatmeal, pies, desserts, baked goods, chili, smoothies, casseroles – and you can even make delicious pumpkin pancakes.
Just make sure you don’t accidentally pick up a can of pumpkin pie filling instead because they are two completely different things!
Pumpkin pie filling and pumpkin puree often sit in cans or cartons right next to each other on the grocery store shelf. It can be easy to grab one thinking it is the other because the two products look very similar.
However, they are VERY different products!
Pumpkin Puree (that can also be made at home very easily) should say ONLY Pumpkin on the ingredient label.
Pumpkin pie filling usually has many ingredients, one of which is SUGAR.
🎃Our Homemade Pumpkin Puree Recipe
Have you ever made your own whipped coconut cream? You’re in for a treat!
It’s fluffy, all-natural, and dairy-free making it the perfect treat or dessert.
Always chill your coconut cans in the fridge overnight. The coconut cream solids will rise to the top of the can in the fridge, leaving the coconut water on the bottom.
You’ll need this concentrated cream found on top in order to create your fluffy coconut whipped cream. Once your can has chilled in the fridge OVERNIGHT, then you’re ready to make your treat.
🍯 The sweetness factor is such a PERSONAL preference, so please consider this when adding in the stevia, honey, or maple syrup. Depending on your taste, you may want a bit more or less.
6-8 servings
Ingredients:
-
melted unrefined organic coconut oil or spray, to grease pie plate
-
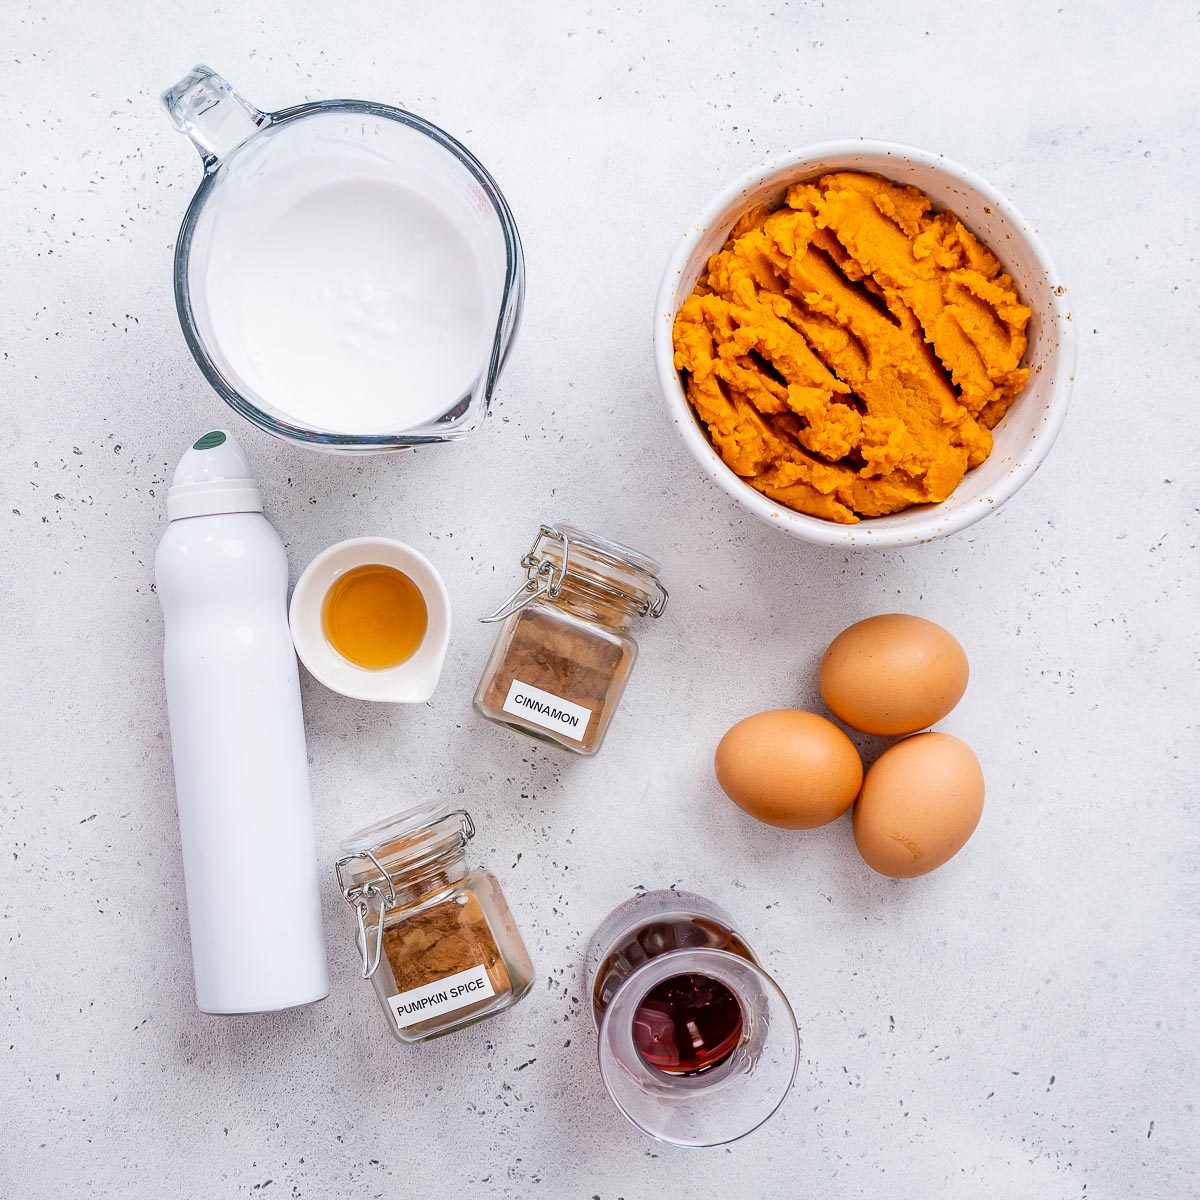
1 x15 oz can pumpkin puree or 2 cups homemade pumpkin puree
-
1 cup full fat canned coconut cream (not milk)
-
1/2 cup pure maple syrup or raw honey
-
3 large eggs, room temp
-
1 tsp vanilla extract
-
1 tsp cinnamon
-
2 tsps pumpkin pie spice mix
Optional Topping
Whipped coconut cream:
-
1 x 13.5 oz can unsweetened coconut milk, chilled in the fridge overnight
-
tiny pinch of sea salt
-
1/2 tsp vanilla
-
4-6 drops of liquid stevia, or 1 Tbsp pure maple syrup/raw honey, or to taste
Instructions:
Preheat your oven to 325 degrees f. and lightly grease a 9” pie plate with coconut oil.
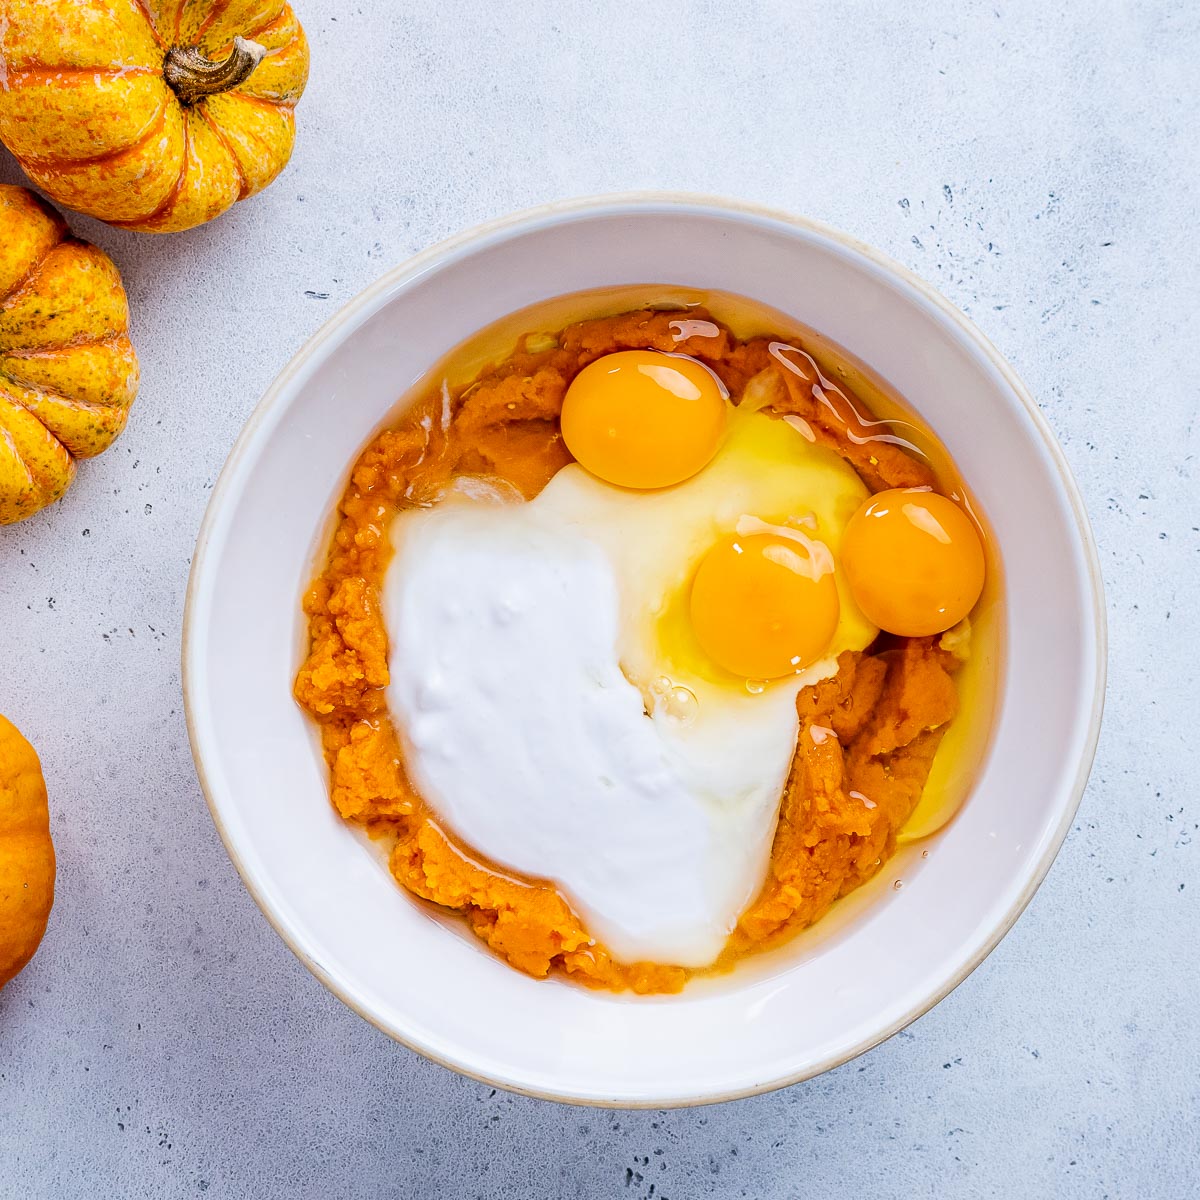
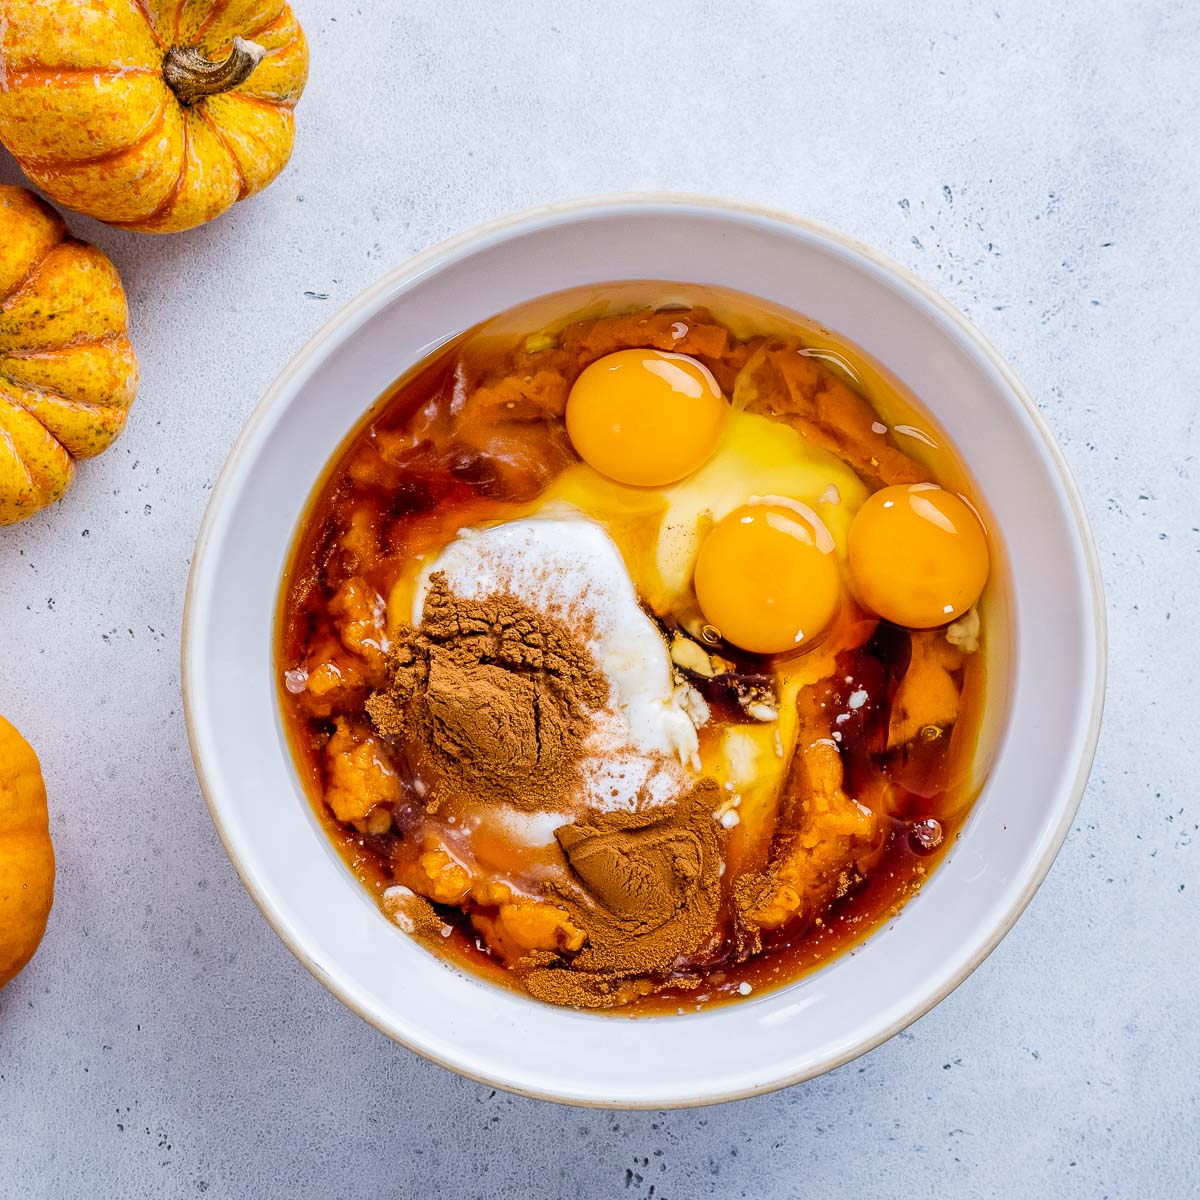
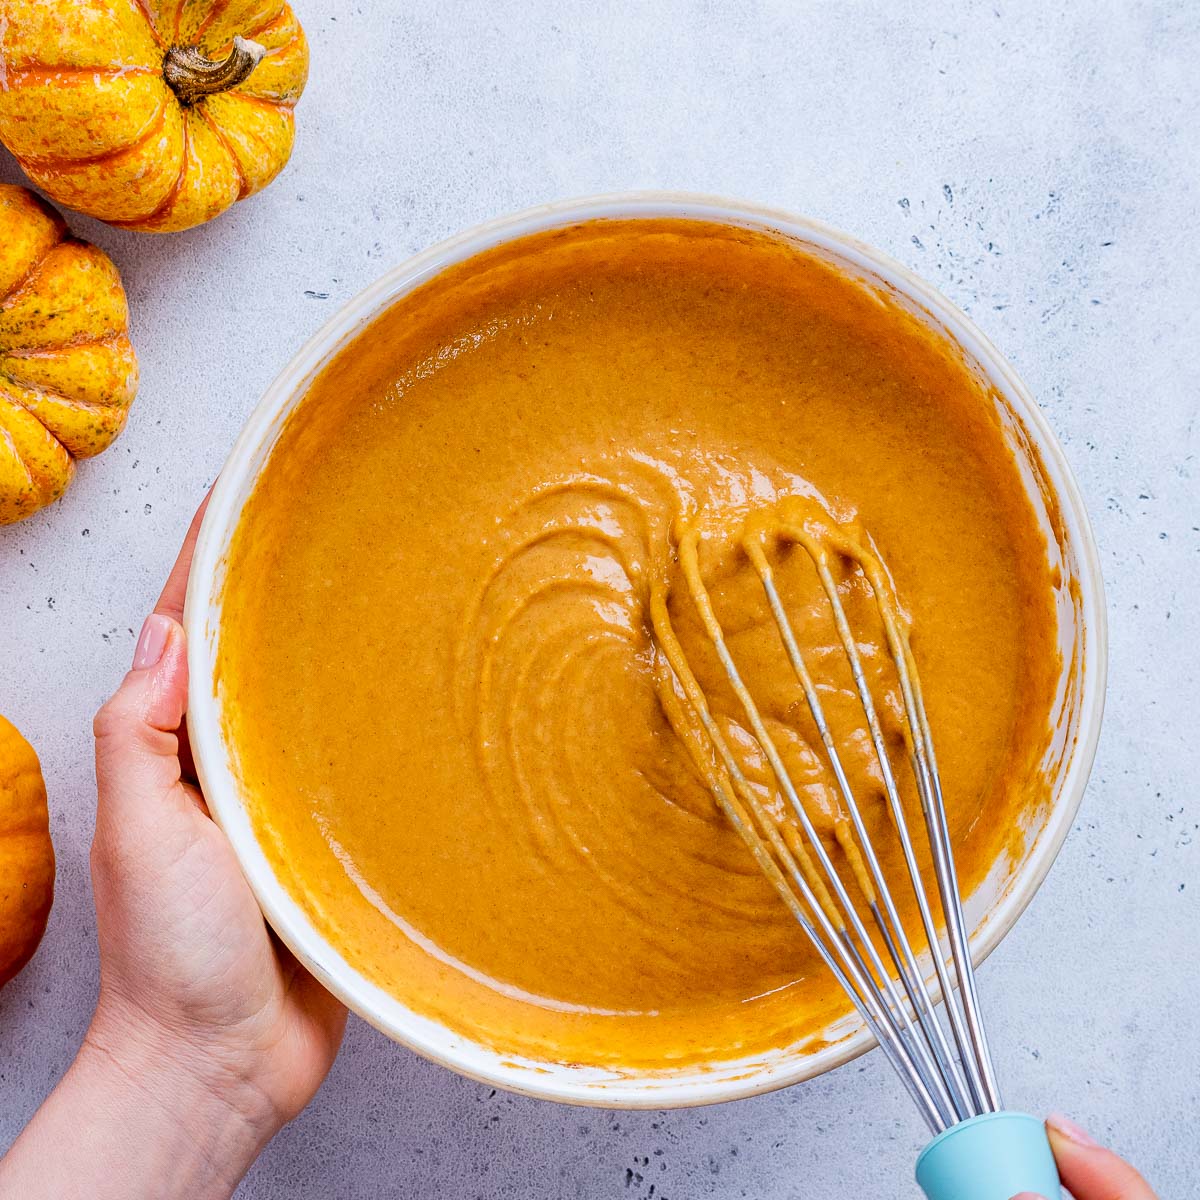
Place all of your pie ingredients in a large bowl and whisk until combined.
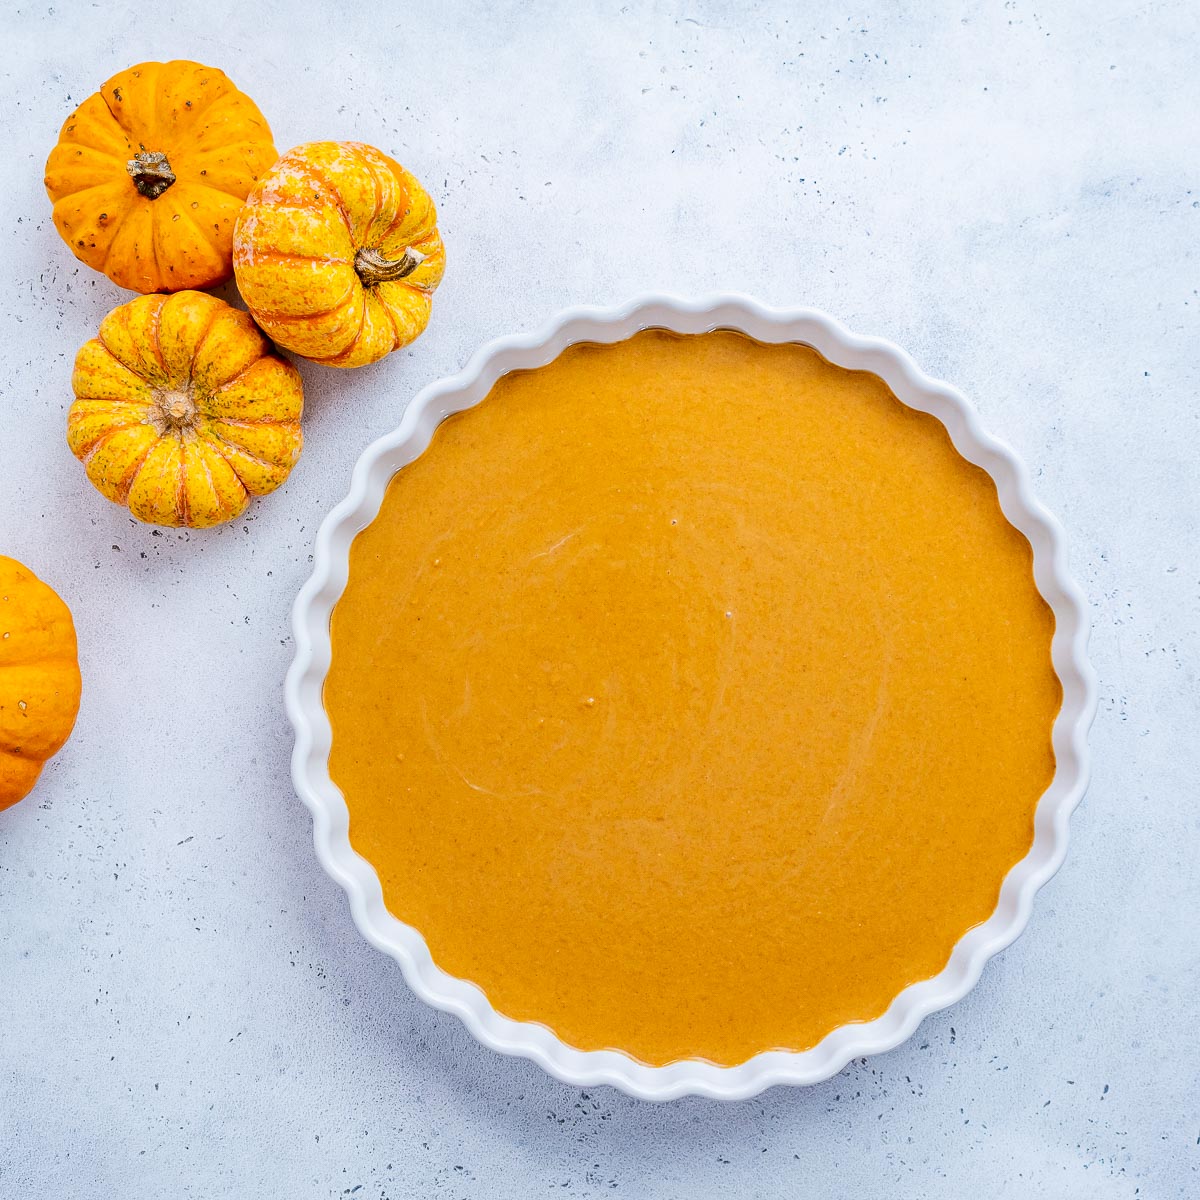
Transfer your mixture to your prepared pie plate using a rubber spatula.
Bake in your preheated oven for 45-55 minutes, or until just set with the center slightly jiggly.
Once your pumpkin pie is ready, allow it to completely cool before refrigerating.
Allow your pie to cool, then refrigerate (covered) for 2 hours or overnight.
To make whipped coconut cream:
Your coconut milk needs to be refrigerated overnight prior to preparation.
Carefully open the coconut milk can. Using a spoon skim off the thickened top layer into a mixing bowl.
Reserve the watery liquid at the bottom to use for another use such as smoothies.
Add the sea salt, vanilla paste, and stevia/maple syrup over the coconut cream into the bowl.
Use an electric whisk and beat the coconut cream for 1-2 minutes, or until it resembles whipped cream. Be careful not to “over whisk” because it may get runny again. There is a fluffy sweet spot to be found here.
Serve with whipped coconut cream and enjoy!
🧡Rachel
Crustless Pumpkin Pie 🍂🍁🍃
Ingredients
- melted unrefined organic coconut oil or spray, to grease pie plate
- 1 x15 oz can pumpkin puree or 2 cups homemade pumpkin puree
- 1 cup full fat canned coconut cream, not milk
- 1/2 cup pure maple syrup or raw honey
- 3 large eggs, room temp
- 1 tsp vanilla extract
- 1 tsp cinnamon
- 2 tsps pumpkin pie spice mix
Optional Topping: Whipped coconut cream:
- 1 x 13.5 oz can unsweetened coconut milk, chilled in the fridge overnight
- tiny pinch of sea salt
- 1/2 tsp vanilla
- 4-6 drops of liquid stevia, or 1 Tbsp pure maple syrup/raw honey, or to taste
Instructions
- Preheat your oven to 325 degrees f. and lightly grease a 9” pie plate with coconut oil.
- Place all of your pie ingredients in a large bowl and whisk until combined.
- Transfer your mixture to your prepared pie plate using a rubber spatula.
- Bake in your preheated oven for 45-55 minutes, or until just set with the center slightly jiggly.
- Once your pumpkin pie is ready, allow it to completely cool before refrigerating.
- Allow your pie to cool, then refrigerate (covered) for 2 hours or overnight.
To make whipped coconut cream:
- Your coconut milk needs to be refrigerated overnight prior to preparation.
- Carefully open the coconut milk can.
- Using a spoon skim off the thickened top layer into a mixing bowl.
- Reserve the watery liquid at the bottom to use for another use such as smoothies.
- Add the sea salt, vanilla paste, and stevia/maple syrup over the coconut cream into the bowl.
- Use an electric whisk and beat the coconut cream for 1-2 minutes, or until it resembles whipped cream. Be careful not to "over whisk" because it may get runny again. There is a fluffy sweet spot to be found here.
- Serve with whipped coconut cream and enjoy!
