This post contains affiliate links. Please see our disclosure policy.
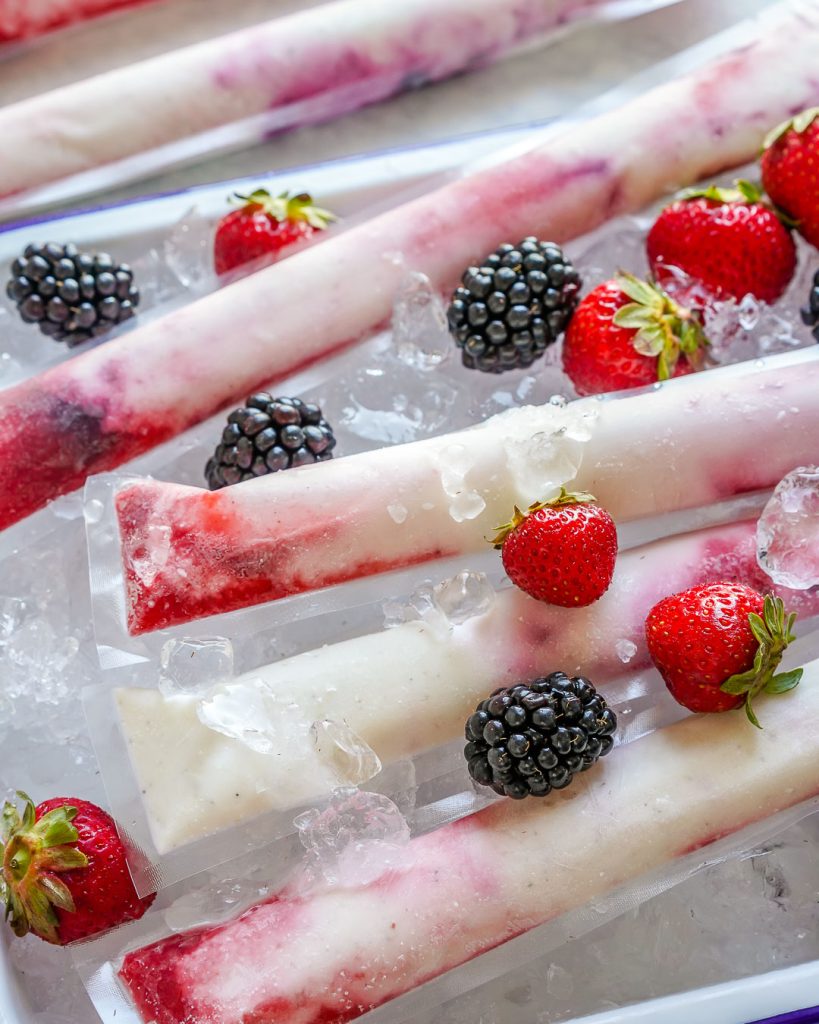
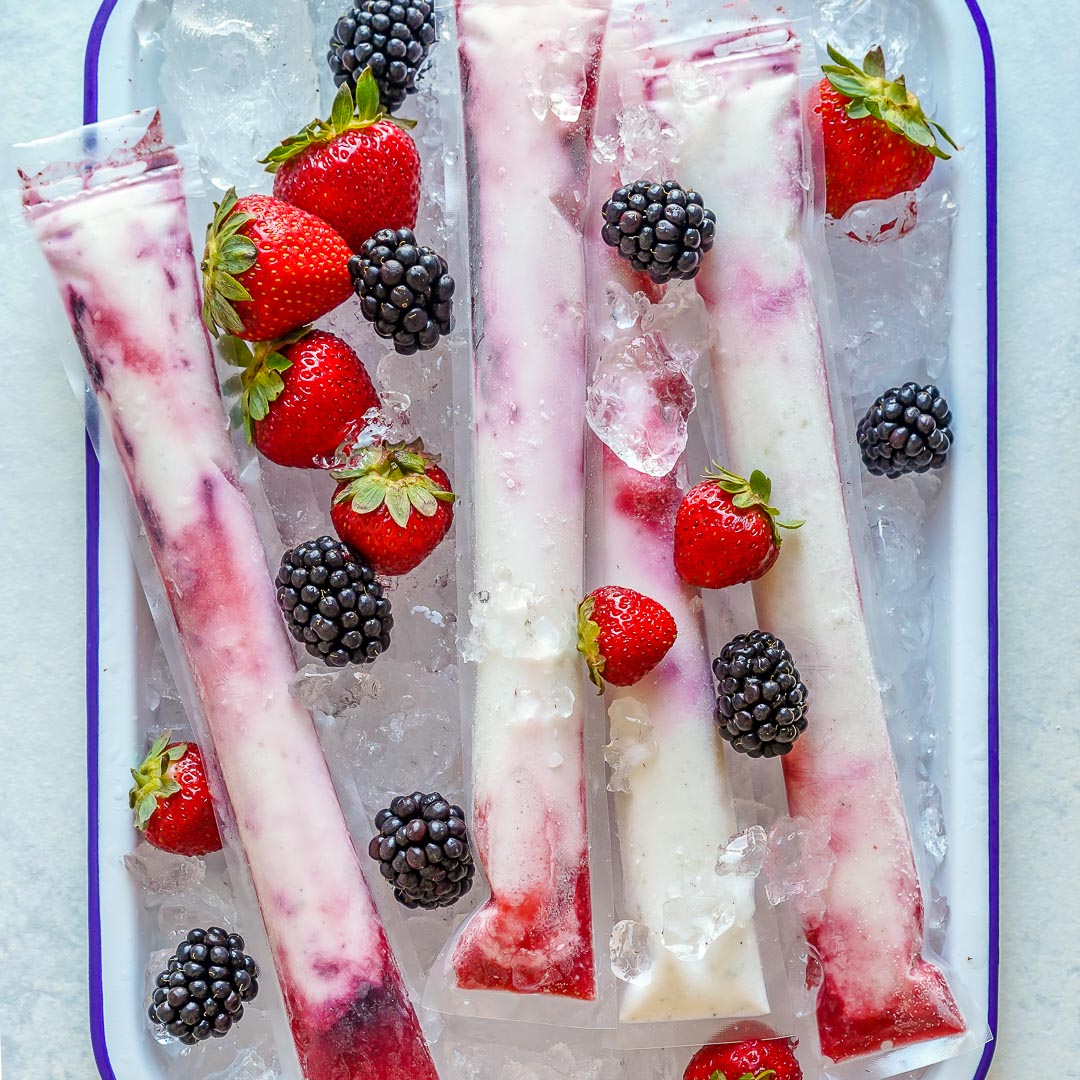
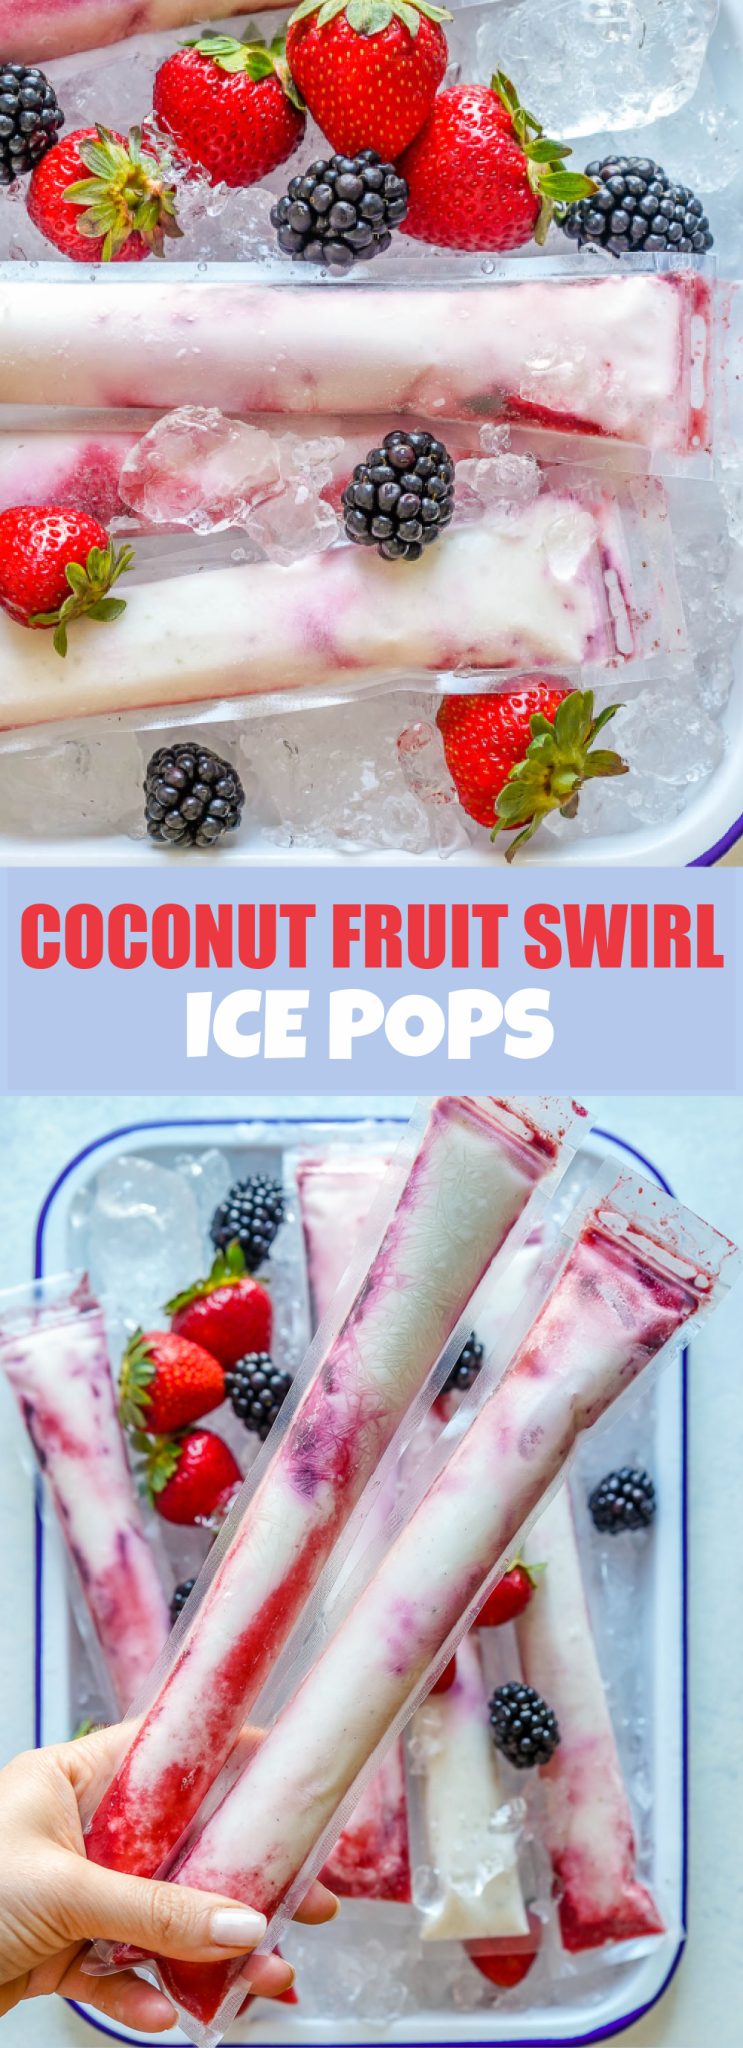
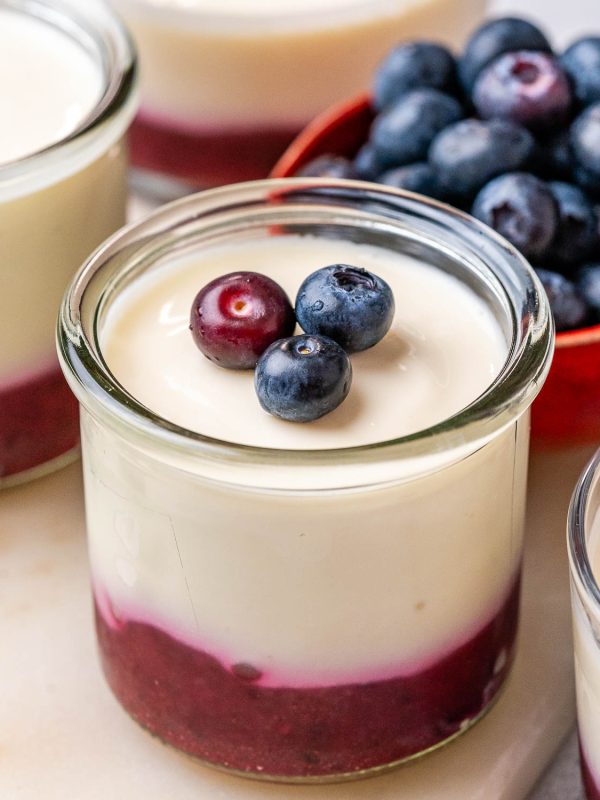
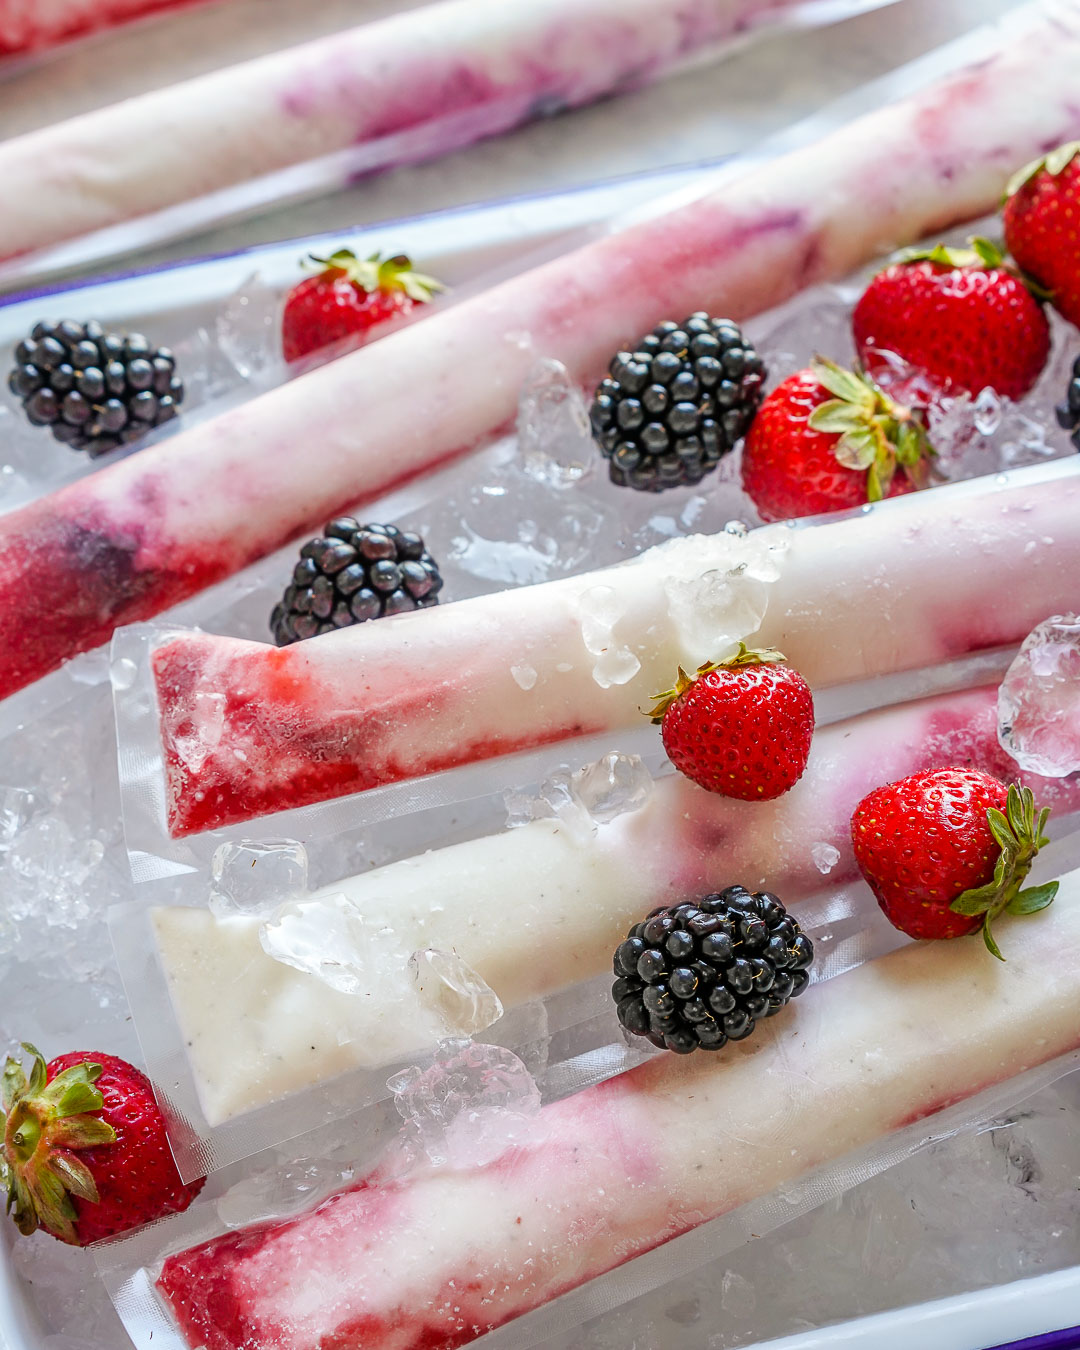
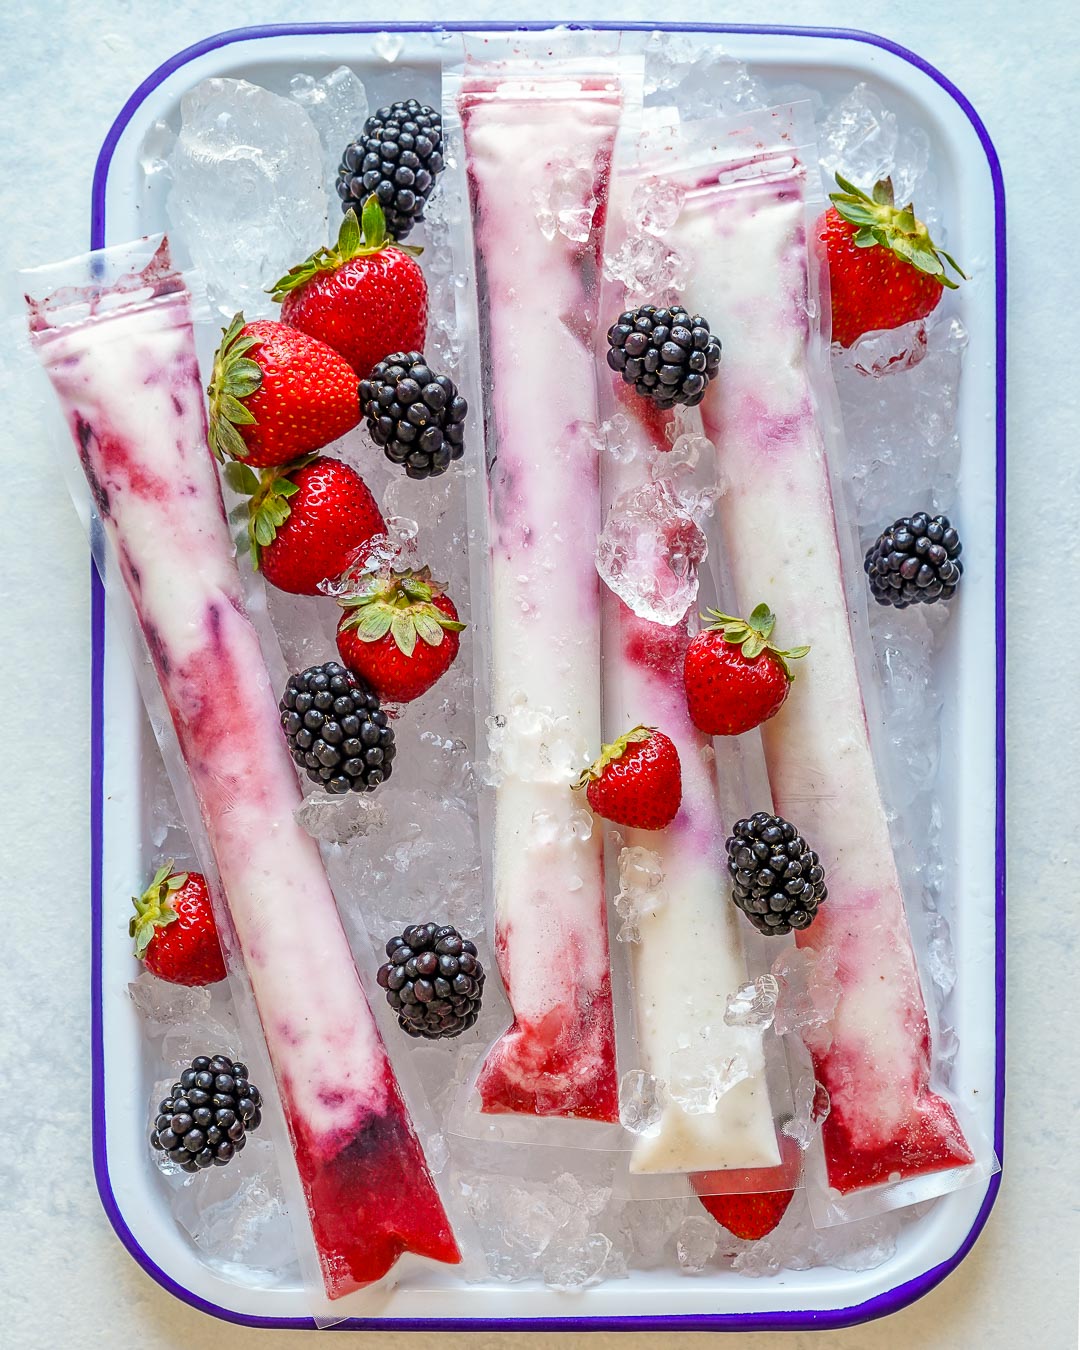
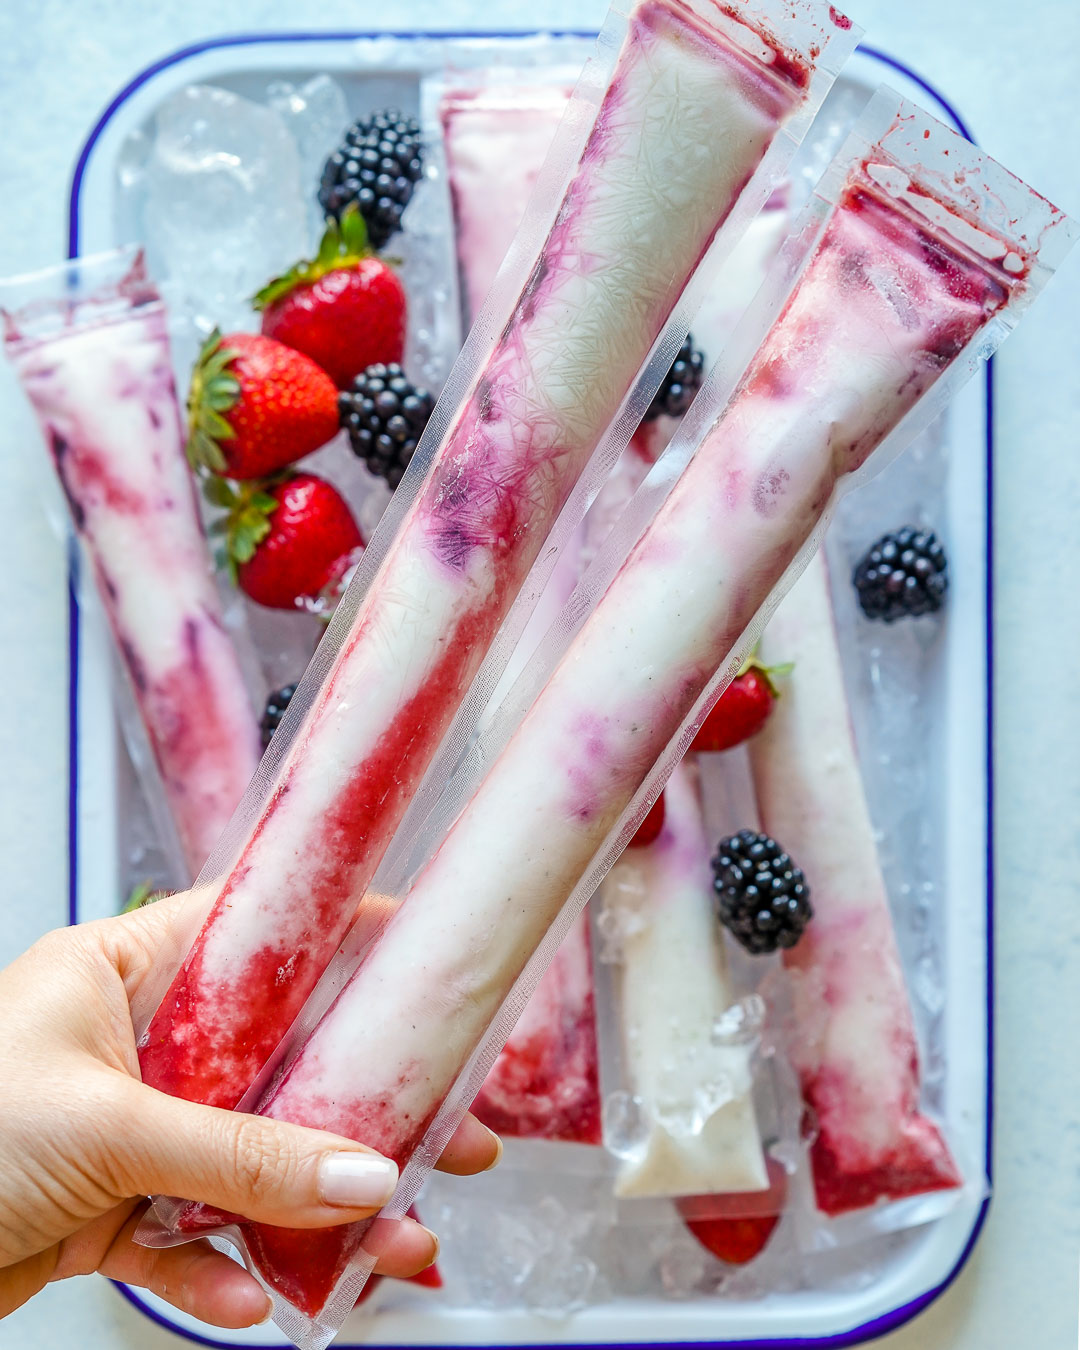
Coconut Fruit Swirl Ice Pops 🏖
Summer is finally within our grasp and there’s nothing as nostalgic in the summertime as frozen otter pops or frozen yogurt tubes for the kids (and their parents!) to enjoy on a hot day.
What a fun food craft to make with the kids this summer!
Completely refreshing icy-cold homemade Summertime treats! My FAVORITE type because…well…I have control issues 😳…I like to control the quality of ingredients that go into my family’s food! You as well?!
Our version requires these plastic pop sleeves that I found on Amazon. They are reusable and ♻️ recyclable which is awesome because many of us like to limit our plastic use. So if you’re buying frozen yogurt tubes or popsicles in plastic tubes *anyway* then these are a good substitute.
If you’d like to completely avoid the plastic sleeves, then you can absolutely pour this mixture into regular ice pop molds.
*Sweetness factor is personal. You may want to use a bit more or less maple syrup or raw honey depending on YOUR preferences.
Makes 10 servings
Ingredients:
- 1/2 of a (15 ounce) can of unsweetened coconut milk
- 1 cup coconut yogurt or Greek yogurt
- 1/3 cup raw honey or pure maple syrup
- 1 tsp vanilla extract
- 1 lb. blueberries or blackberries
- 1 lb. strawberries or raspberries
- Plastic Ice Pop Sleeves
Instructions:
In a blender, puree blueberries or blackberries. Strain the mixture through a fine-mesh sieve into a bowl and discard the seeds. Repeat the process using strawberries or raspberries.
Rinse out your blender then blend coconut milk, yogurt, honey, and vanilla.
Blend until smooth and creamy.
Transfer the mixture to a bowl.
Now spoon a couple of tablespoons of both berry purees into your ice pop sleeves.
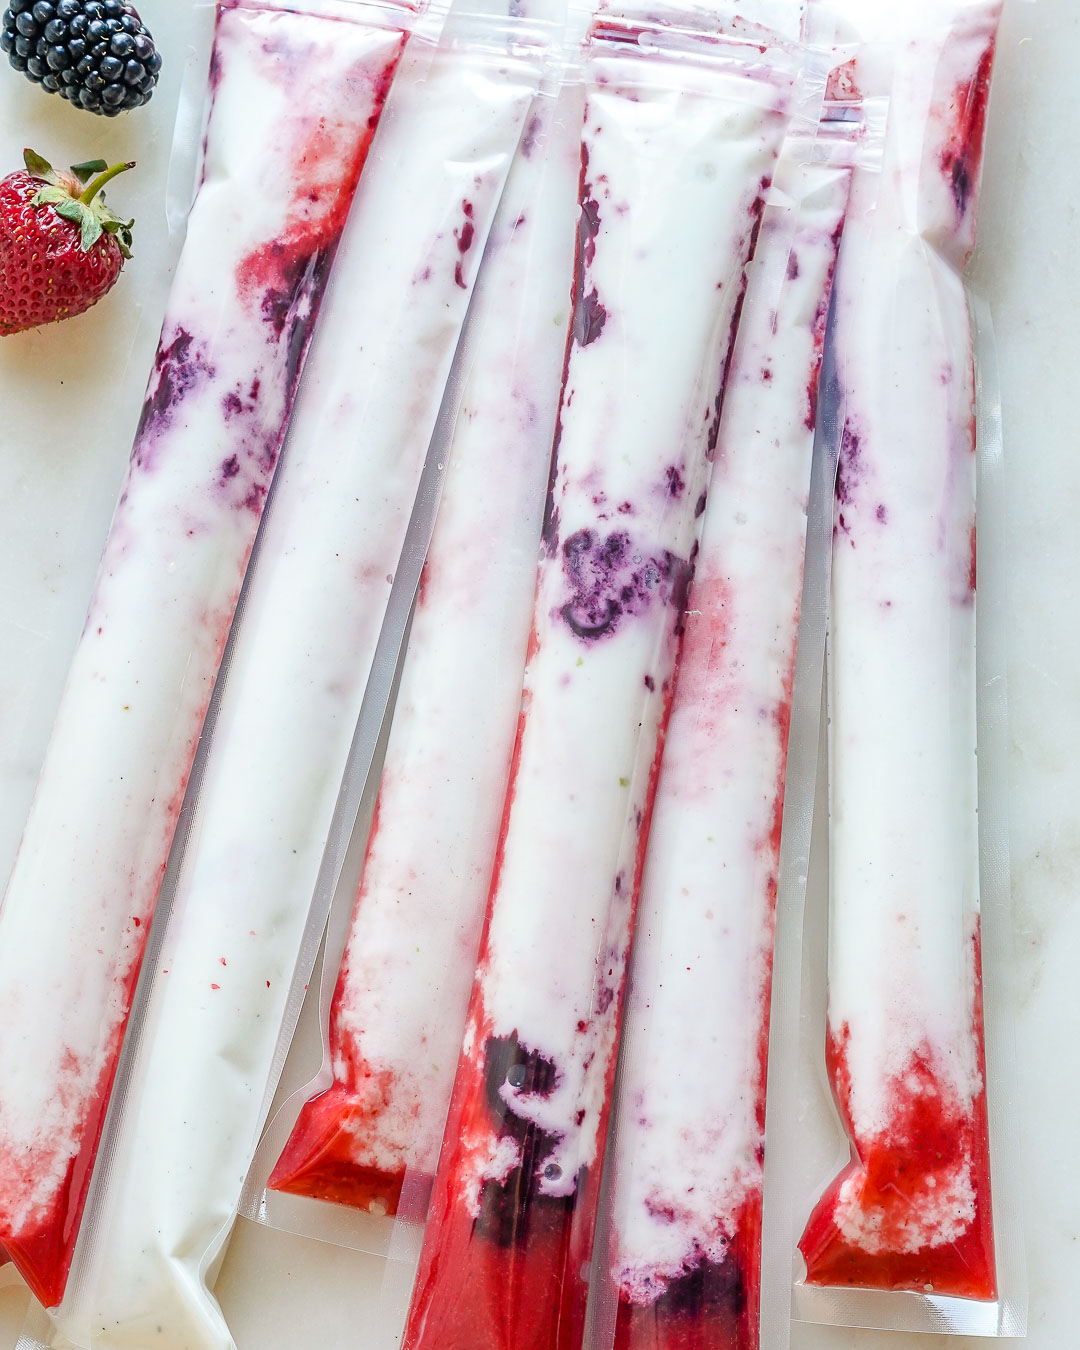
Using a funnel fill the sleeves with the blended coconut mixture, leaving about a 2-inch space at the top.

Top with some more fruit puree, making sure you leave about 1/2 inch unfilled at the top to be able to seal the sleeves. Keep in mind they will likely expand a bit once frozen, so don’t overfill.
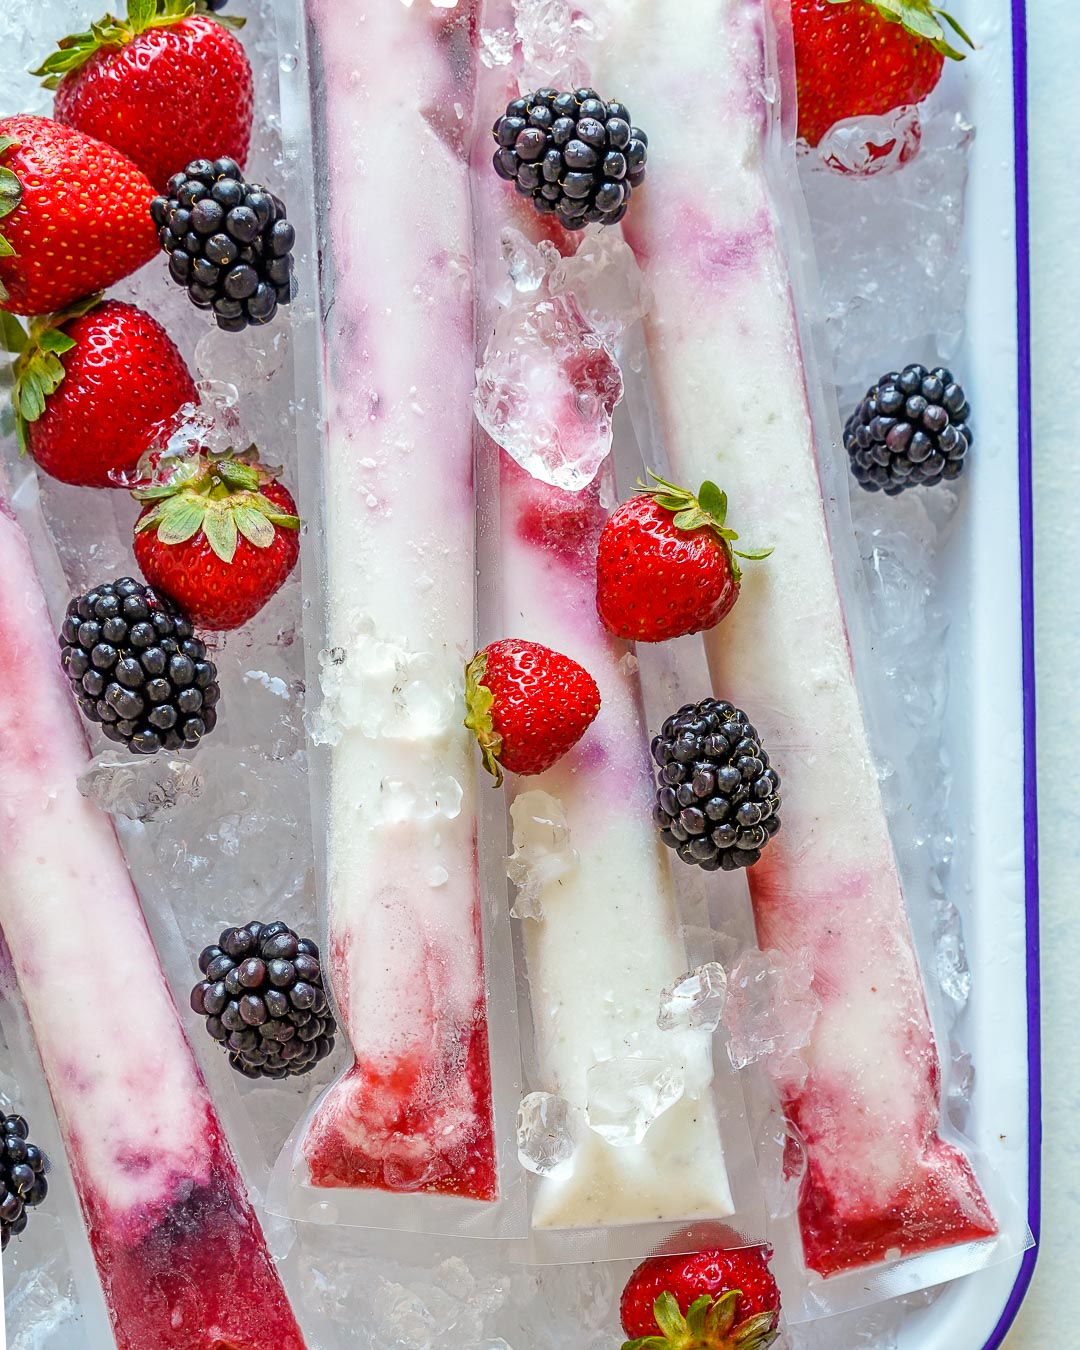
Seal each sleeve and place them onto a baking sheet in a single layer.
Freeze for at least 4 hours. Serve and enjoy!
❤️Rachel
Coconut Fruit Swirl Ice Pops
Ingredients
- 1/2 of a, 15 ounce can of unsweetened coconut milk
- 1 cup coconut yogurt or Greek yogurt
- 1/3 cup raw honey or pure maple syrup
- 1 tsp vanilla extract
- 1 lb. blueberries or blackberries
- 1 lb. strawberries or raspberries
- Plastic Ice Pop Sleeves
Instructions
- In a blender, puree blueberries or blackberries. Strain the mixture through a fine-mesh sieve into a bowl and discard the seeds. Repeat the process using strawberries or raspberries.
- Rinse out your blender then blend coconut milk, yogurt, honey, and vanilla.
- Blend until smooth and creamy.
- Transfer the mixture to a bowl.
- Now spoon a couple of tablespoons of both berry purees into your ice pop sleeves.
- Using a funnel fill the sleeves with the blended coconut mixture, leaving about a 2-inch space at the top. Top with some more fruit puree, making sure you leave about 1/2 inch unfilled at the top to be able to seal the sleeves. Keep in mind they will likely expand a bit once frozen, so don't overfill.
- Seal each sleeve and place them onto a baking sheet in a single layer.
- Freeze for at least 4 hours.
- Serve and enjoy!