This post contains affiliate links. Please see our disclosure policy.
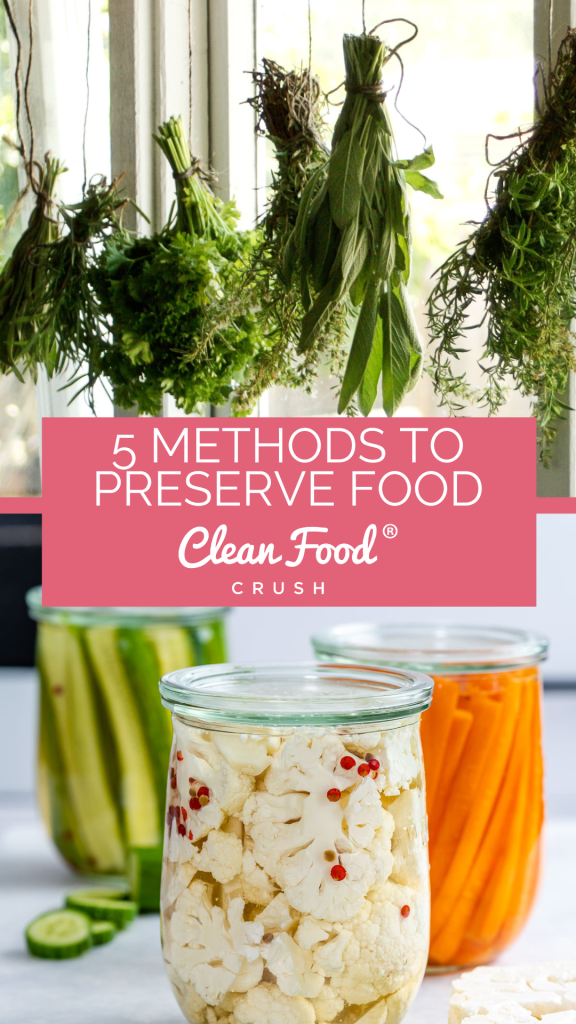
Simple Methods For Food Preservation
Meal Prepping is one of the best ways to keep healthy practices even in the busiest times. We have many recipes perfect for prepping here at CleanFoodCrush, as well as a Meal Prep Made Easy Video Training Course.
But planning your meals isn’t the only way to make life easier for future-you. You can also save food using different preservation methods so it doesn’t go bad before you can use it. I mean, isn’t it super frustrating when your produce spoils in what feels like a matter of days?!
Food preservation is the act of protecting foods from spoiling or becoming contaminated, and there are several reasons to try your hand at this practice!
-
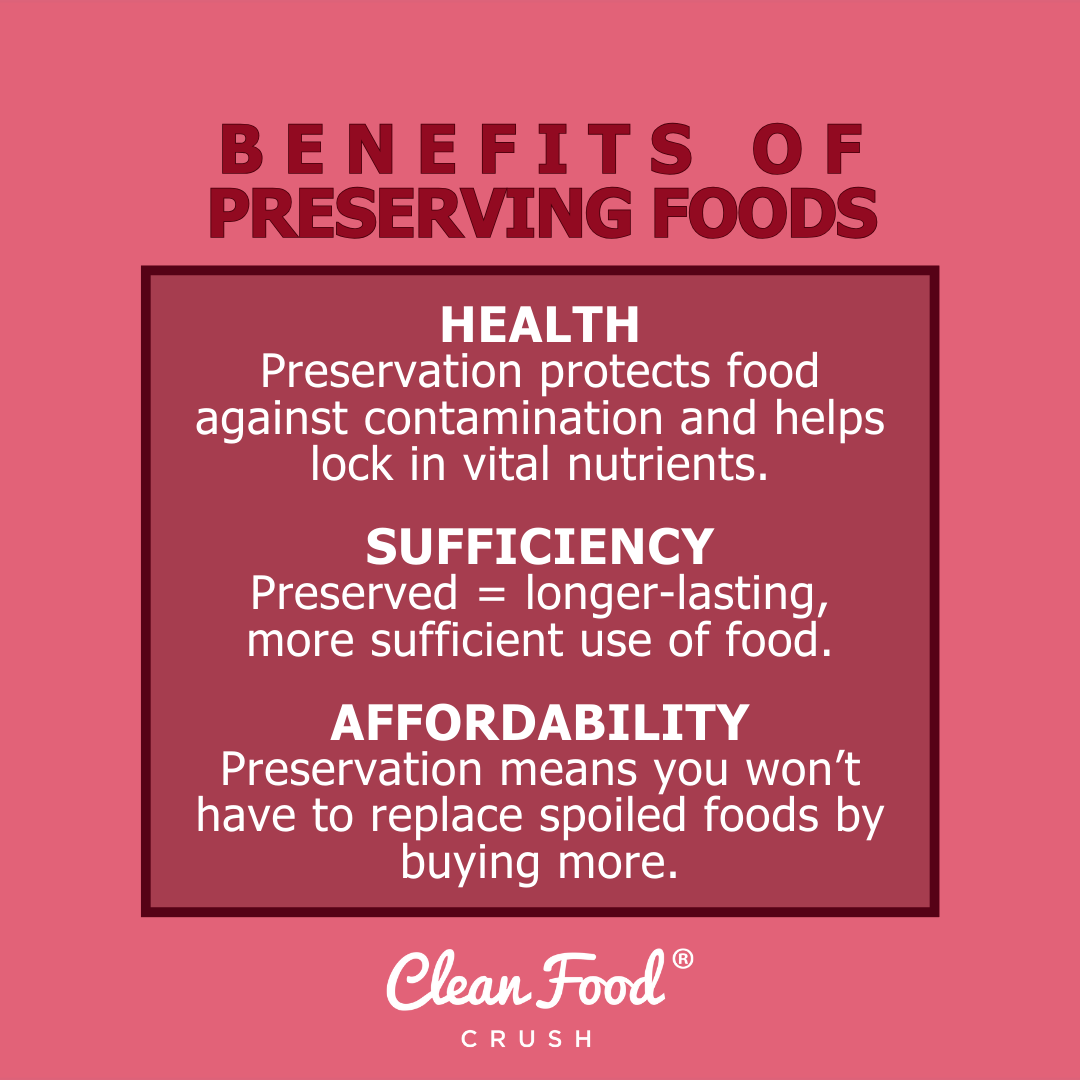
Health
Eating food that has gone bad puts you at risk of food poisoning. Ingesting bacteria, fungi, yeasts, and viruses can mess with your body, and no one enjoys being stuck in the bathroom as you fight food poisoning.
Not only does preservation protect against contamination, but it also helps lock in those vital nutrients your body needs.
-
Sufficience and Sustainability
Simply put, preservation = longer-lasting, which creates more sufficient use of your food. It’s more sustainable, both on a personal level and more communal, to lengthen the life of produce rather than constantly having to replace the same bag of spinach.
-
Affordability
It’s expensive to visit the grocery store every week and buy more fruits and vegetables when you didn’t even get to eat the previous week’s haul. If you’re on a budget, I HIGHLY recommend trying different food preservation methods. You’ll find you’re buying food less often.
You can even grow your own food. If you have space, try planting vegetable or fruit plants. If you’re pressed for space, stick to growing different herbs in your window seal.
Now that you’re convinced (hopefully), here are different options for saving the food you’re not quite ready to eat:
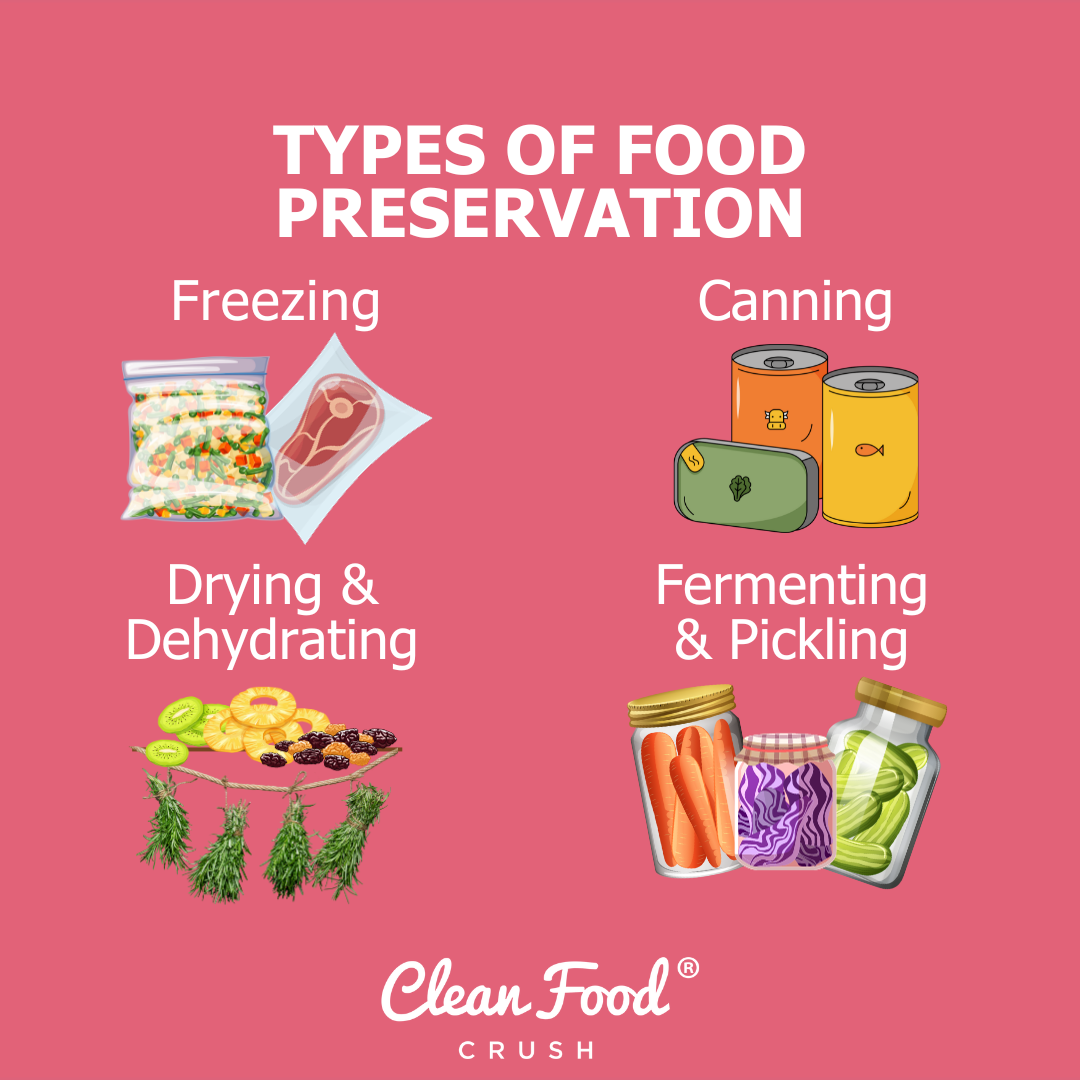
1. Freezing
We’re starting simple with simply by utilizing your freezer.
It may seem obvious, but I know I’m guilty of taking my freezer for granted.
It’s probably the easiest and most convenient method of preserving food, but you need extra space in your freezer, and remember that it doesn’t last forever!
Frozen food stops harmful microorganisms and mold from growing food and is one of the best ways to keep the nutritional value of fruits and veggies.
How to do it:
Basically, you just need to secure the food in air-tight containers, such as Tupperware or reusable bags, and tuck it away in the freezer.
I prefer to chop fruits and veggies before freezing them to make them easier for future use. Herbs can be frozen in water or olive oil to reduce browning.
How long it lasts:
-
Vegetables – Up to 1 year
-
Fruits – 8-12 months
-
Meats – 3-12 months
-
Fish – 3-8 months
-
Bread – 3-6 months
Tips:
Label your food with the date you froze it so you know in the future how long it’s been. Also, only freeze items before their “best-before” or “use-by” dates and never refreeze defrosted foods, as bacteria will likely grow between thawing.
Check out this post for recipes that can be made and frozen for long-term food prepping!
2. Fermenting
Fermentation, the process of converting carbohydrates into alcohol or acid with microorganisms, is a popular preservation method.
It’s been practiced for thousands of years (especially since it can be used to make alcohol), and almost any vegetable can be fermented. During the process, “good” bacteria in produce convert the natural sugars into something else, such as an acid.
One thing to know is that it changes the flavor and texture of foods, so your fermented veggie will taste different than the fresh veggie you’re preserving.
How to do it:
You’ll need a container, such as a mason jar, a lid, salt, and water.
Place your chopped or sliced veggies in the jar, leaving about an inch of space at the top. Stir the salt into the water until it’s dissolved (1-3 Tbsp of salt per 4 cups of water), then pour the mixture over the vegetables until completely submerged, leaving about half an inch of space left.
Next, firmly secure the lid on the jar and store it in a room-temperature space out of direct sunlight (like your kitchen countertop or pantry).
It’ll take around 1-3 days for the bubbling to begin. This is when you may want to open the jar once a day to check that the vegetable is still submerged and to let some of the gas escape.
Around day 3-5, transfer the veggies to the fridge, where they can finish fermenting for about a week. The longer they sit, the more tangy they’ll be.
How long it lasts:
Fermented foods adequately prepared and stored in a cool, dark place (like the refrigerator) can last at least 4-18 months.
Tips:
Fold a small cabbage leaf and press it on top of your vegetable to keep the veggies submerged in the salt water! This isn’t necessary, but it helps the process.
For more guidance on fermenting, check out these recipes for Homemade Raw Sauerkraut and Homemade Kimchi!
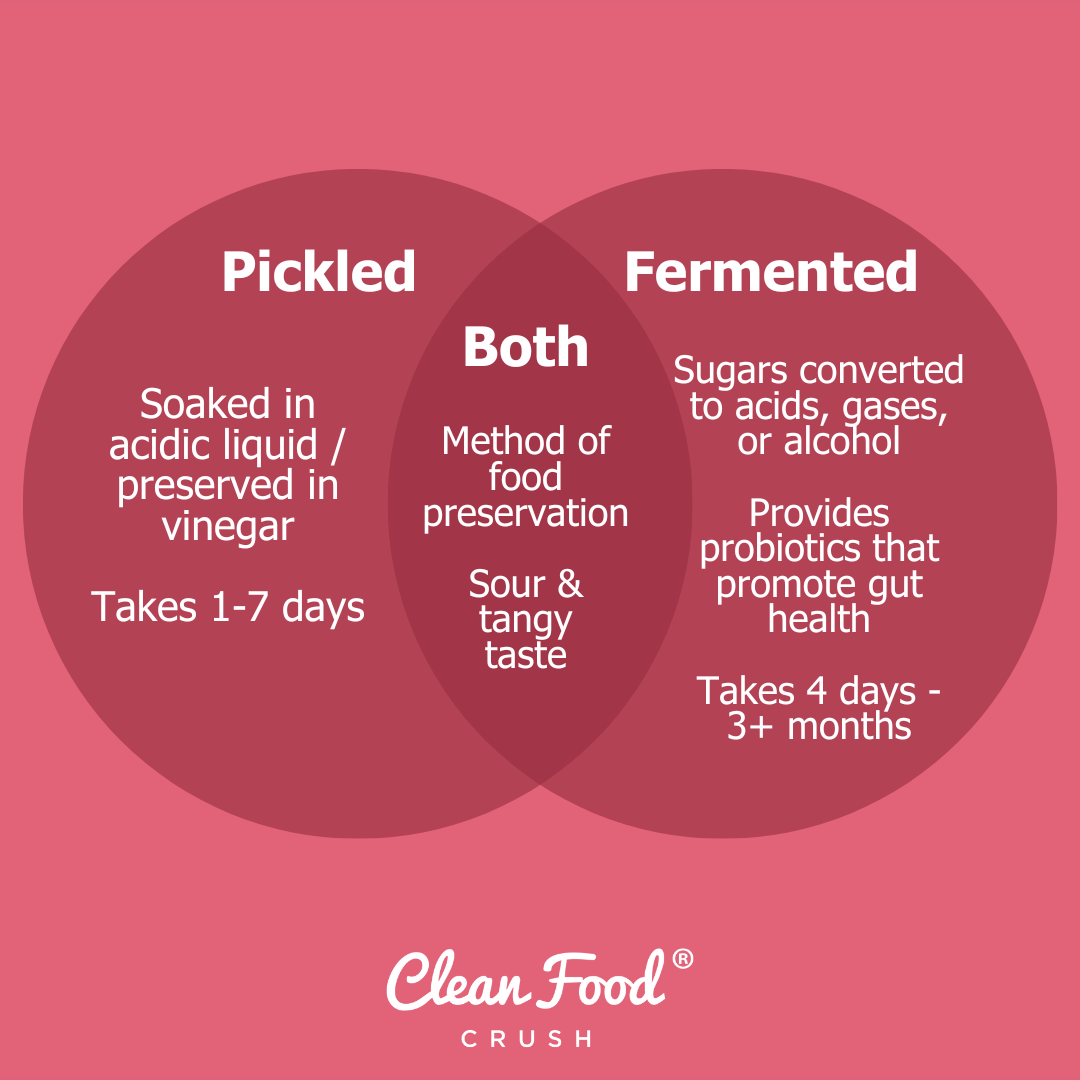
3. Pickling
Pickling is super similar to fermentation but still a different process.
Both create somewhat of a sour flavor, but the sourness in fermented food results from a chemical reaction between a food’s sugars and naturally present bacteria, and in pickling, it’s caused by soaking in an acidic liquid.
Generally speaking, fermentation is healthier, preserving more natural nutrients than pickling. However, pickling is still a completely valid preservation method and highly convenient, as you can pickle pretty much any fruit or vegetable, not just cucumbers.
How to do it:
Check this simple recipe out for in-depth directions to pickling vegetables!
The process is similar to fermentation. You’ll need jars, lids, vinegar, water, salt, and the vegetables you’re pickling.
First, place the cut vegetables in an empty jar, then make the “brine” by mixing the vinegar, water, and salt in a medium saucepan. Bring it to a simmer, then pour the brine over the vegetables in the jar, leaving about half an inch of space at the top.
After it’s cooled to room temperature, seal the jars with lids and place them in the fridge, waiting at least 2 days before eating.
How long it lasts:
Pickled veggies last about 2-3 months in the fridge.
Tips:
Add flavors to the pickled veggies by adding smashed garlic, herbs, or spices to the jars.
Try this recipe for Homemade Pickled Jalapeños!
4. Canning
This is perhaps the most reliable method of food preservation, and it’s also quick, simple, and easy!
It’s ideal for fruits and veggies (and even meat), but you can’t store dairy, flour, or sweets by canning. The process removes oxygen and prevents bacteria from growing.
There are 2 ways to can foods: water bath and pressure canning. Though simple, each process must be done correctly to be effective. Rather than providing quick directions that might not cover all the basics, I suggest researching more before ensuring you’re doing it correctly, as improperly canned food can be dangerous. As always, talk to your doctor about any health concerns!
How long it lasts:
Foods high in acid (like tomatoes and fruits) keep for about 18 months. Foods with less acid (such as meats and veggies) can last up to 5 years. Good quality cans properly prepared and stored in clean, cool, and dry places can be stored indefinitely.
Here are some canning methods, directions, and recipes to help get you started:
5. Drying or Dehydrating
Last but not least, dehydrating and drying! This is my favorite form of preserving herbs and spices.
To dehydrate, you’ll need an actual dehydrator that removes all moisture (which bacteria, yeasts, and molds need to grow).
This is one of the best methods for long-term storage and preservation, and most food retains nearly all of its original nutrients and can last for years.
You can try this with almost any fruit or vegetable, and the result is a tasty snack that takes up less space, weighs less, and lasts longer.
On the other hand, drying can be done without an extra appliance by a simple air-drying technique.
How to do it:
The air-drying technique includes bunging together herbs and spices and hanging them in a well-ventilated, dry, and dark place.
Make sure to bunch them together according to type and flavor, as herbs with stronger flavors, like sage and rosemary, will affect the flavor of other herbs.
Keep the bundles small enough for uniform drying and sufficient air circulation, then hang them upside down in a well-ventilated, dry, and dark place about 68-90 degrees F. You’ll know they’re fully dry when crisp and easily broken; it typically takes 10-14 days.
You can also dry herbs using the oven or microwave. These techniques are faster but lose some flavor.
For oven-drying, lay the herbs or spices in a single layer on a cookie sheet or pan and place them in the oven at its lowest temperature (180°F or less). Most herbs will dry entirely after around 1-2 hours, though some can take up to 4 hours.
Leave the oven door slightly ajar (unless you have a gas oven) for air circulation, and turn the herbs occasionally to ensure uniform drying. Since the door is open, pay attention to the oven, especially if you have children or pets!
Microwaving will retain more flavor than the oven. Once again, place the herbs or spices in a single layer, this time between paper towels. Microwave for about 4 minutes (depending on the herb), turning every 15-30 seconds. You may need to replace the paper towels if they get too moist.
Whether using the oven or microwave, avoid over-drying and let the herbs cool before storing.
How long it lasts:
You can store your herbs either as whole leaves or crumbled into a fine powder, and they’ll last up to a year when stored in a cool, dry location in an air-tight container. However, they lose flavor over time, so I like to use mine within 4 months of drying.
Be sure the herb or spice is thoroughly dried before storing. Otherwise, they can mold and deteriorate quickly.
Tips:
Grow and harvest your own herbs to save money! Place a paper back over the herbs or spices to keep them out of the light, to catch any pieces that fall, and to keep them free of dust.
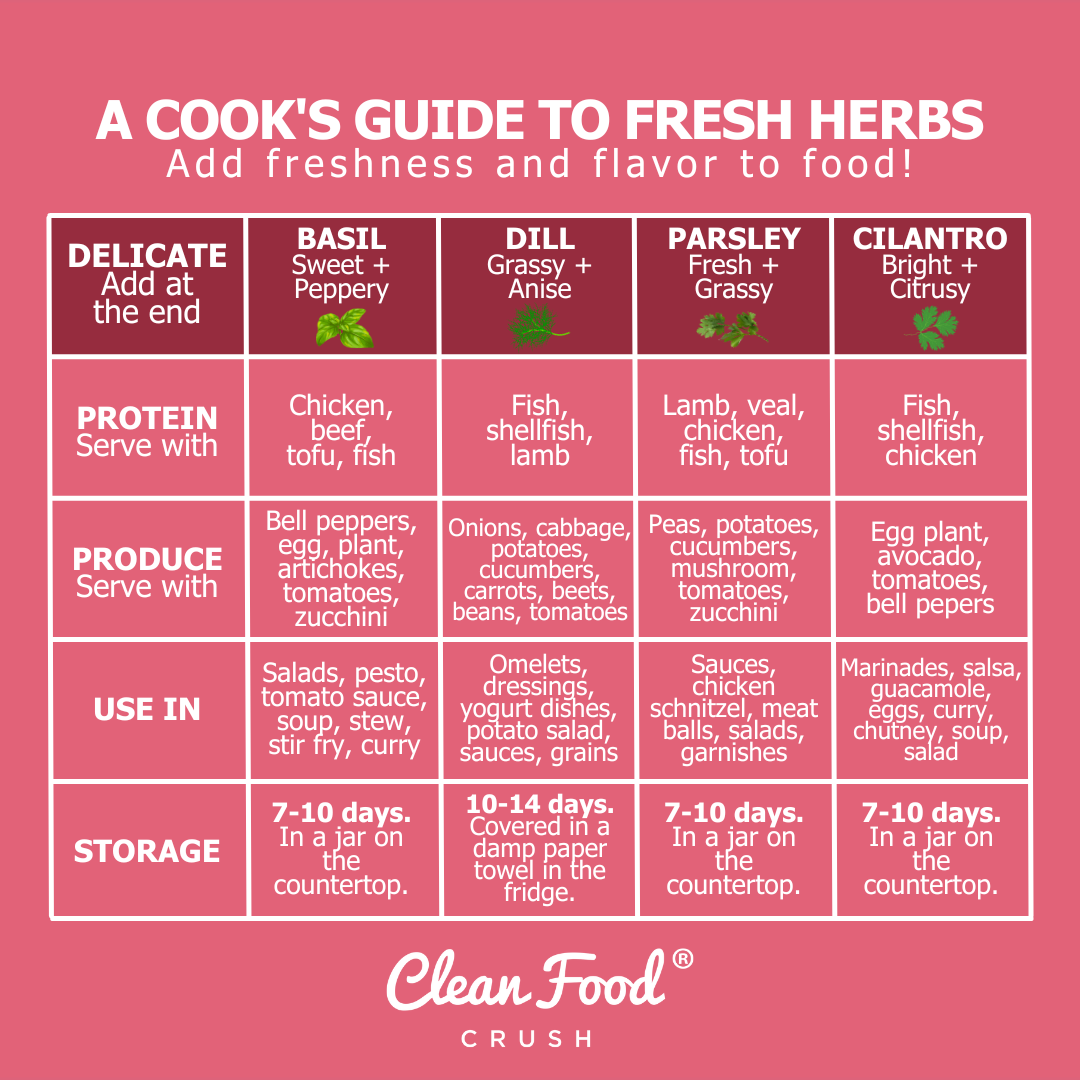
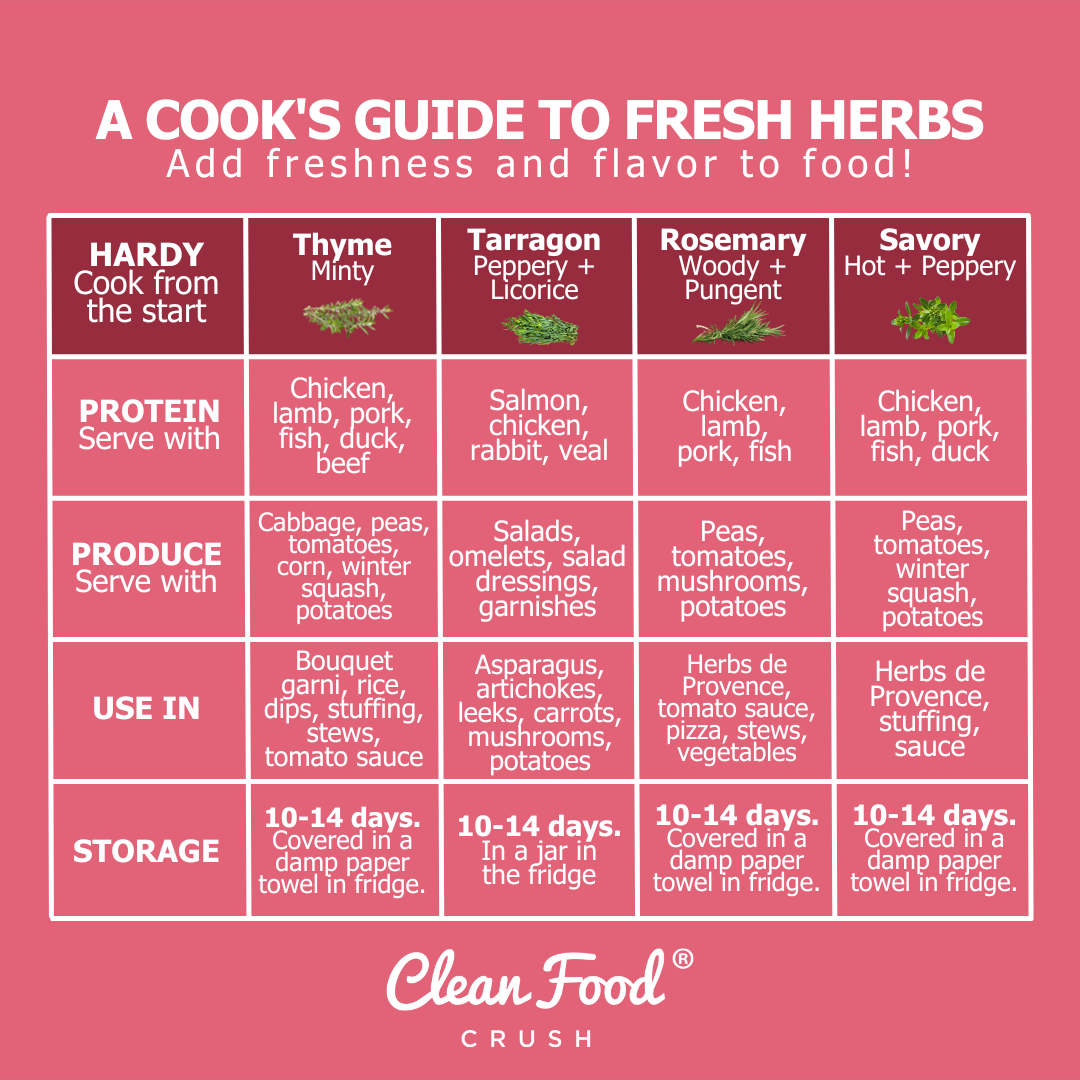
Check out our cooks-guide to fresh herbs here!
There you have it: five excellent and simple food-preserving methods!
When in doubt, take your leftover foods or produce you’re unsure what to do with and experiment with different recipes.
Some of my go-to meals for using a variety of spare produce are hash, soups, and stews. Each of these is extremely versatile, and you can be creative with what ingredients you throw together.
If you’ve tried all these methods and are still worried about waste, consider donating excess food!
There are plenty of people who need food and would be so thankful for some fresh fruits and veggies. Check your local food banks to see if they have the capacity to receive donations or share with your neighbors!
What about you?
What food preservation method is your favorite, or which one have you been inspired to try?
Are there any methods I forgot to include that you’d love for me to cover in a future blog post?
I’d love to hear from you amazing CRUSHers! Let me know in the comment section below.